Materials You Need
– Pencil
– Eraser
– Drawing paper
Sketch The Basic Shapes Of The Body
Before starting to draw any part of the army character, draw the basic shapes of the body. Begin with outlining the head, chest, and hips. Then sketch the arms, and legs.
Draw The Head And Face
Next, draw the head, and face. Sketch the head using an oval shape and add guidelines for facial features. Then, draw the eyes, nose, mouth, and ears.
Draw The Body Of The Army Character
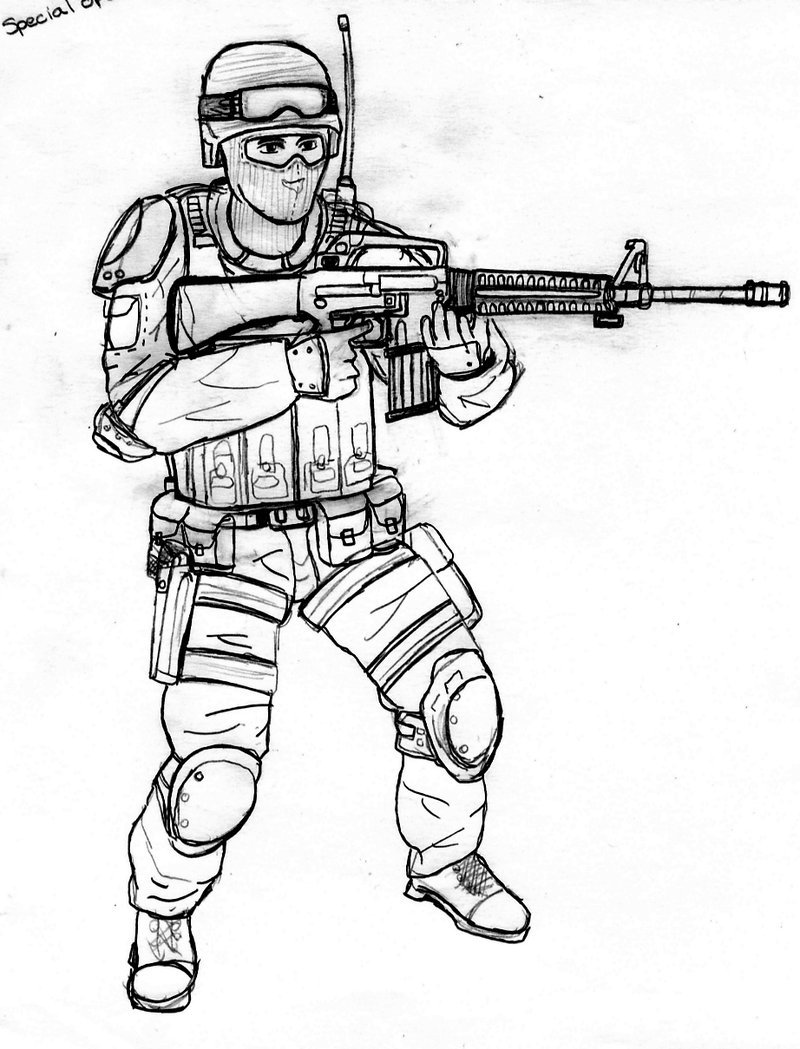
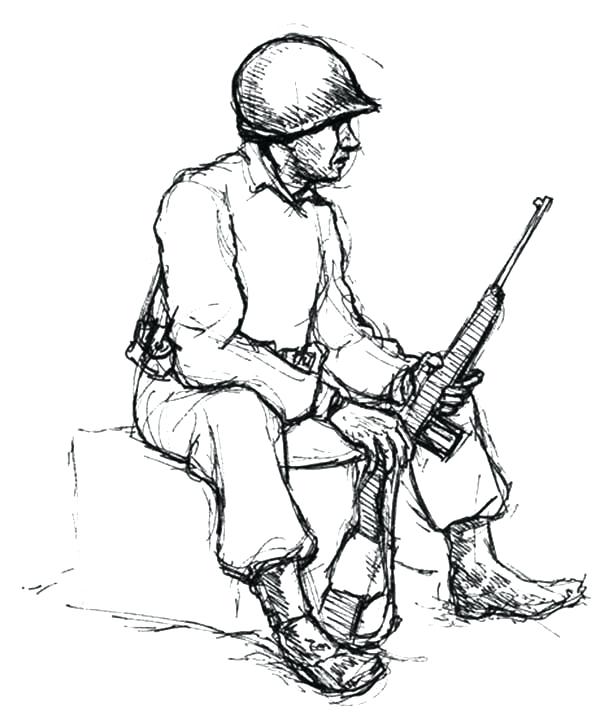
After that, draw the body of the army character in detail, following the basic shapes and guidelines. Start with drawing the chest and shoulders, then add arms with the elbow, hand, and fingers. Similarly, draw the hips, legs, knees, feet, and toes.
Add Uniform Details And Accessories
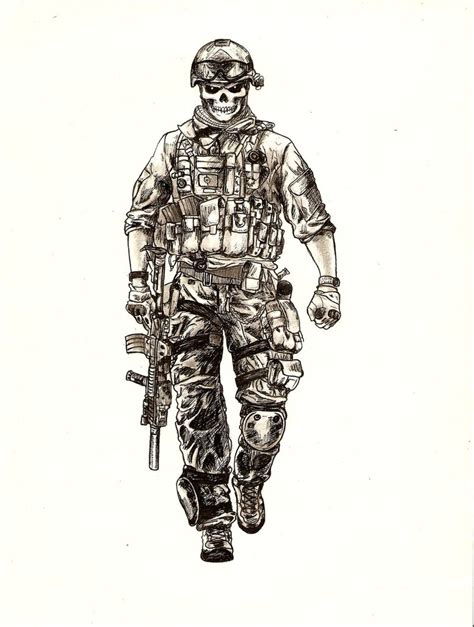
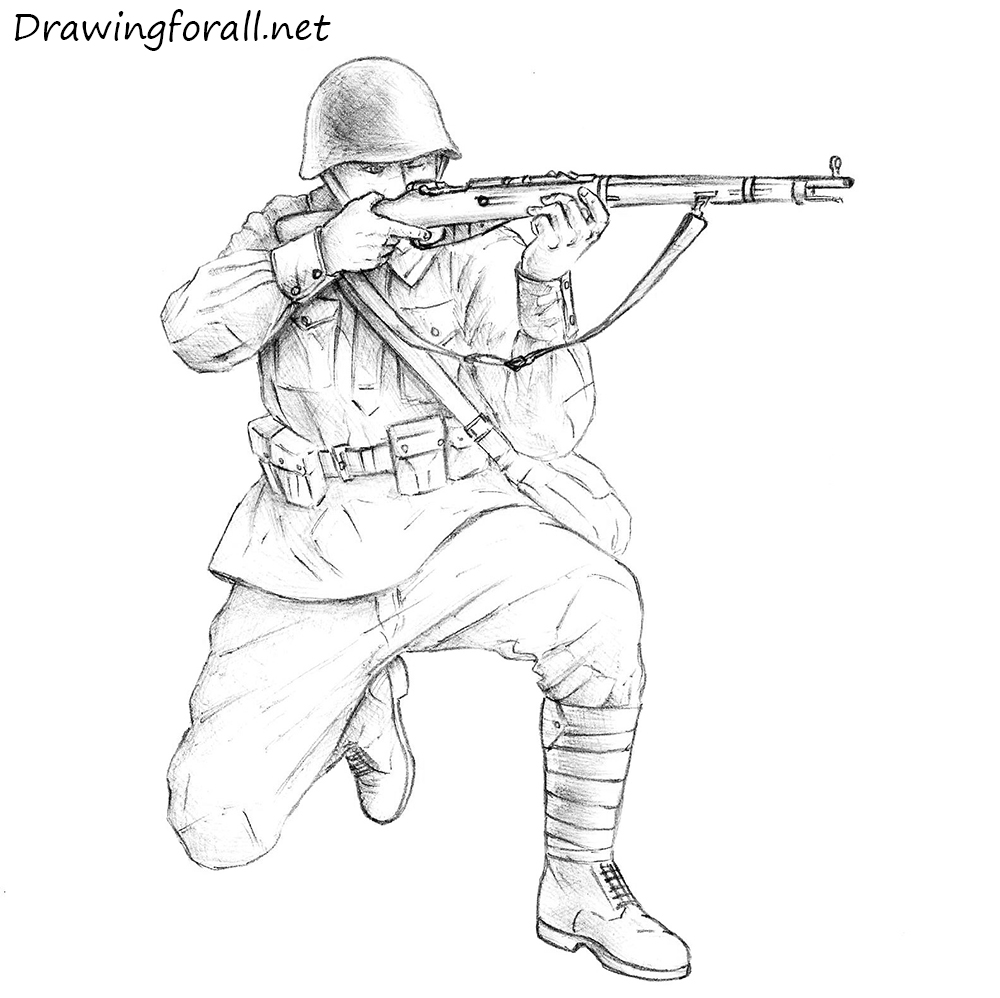
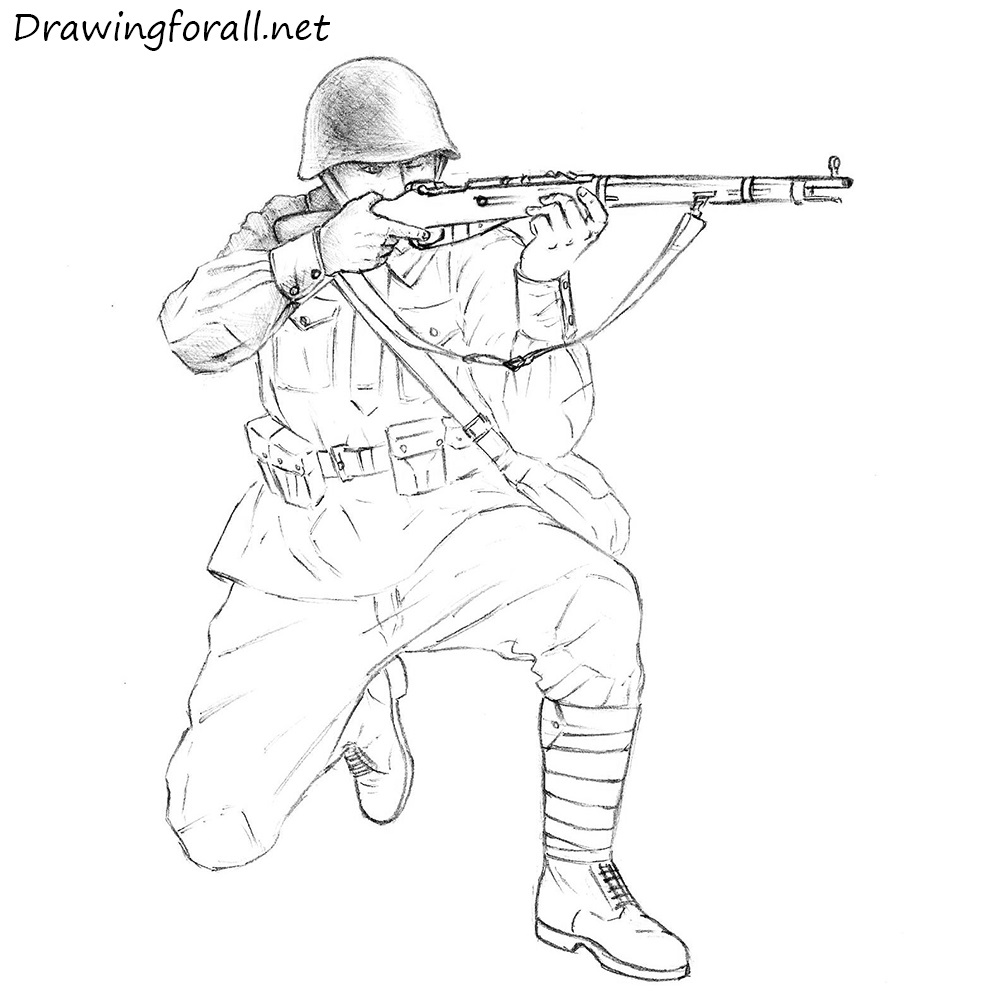
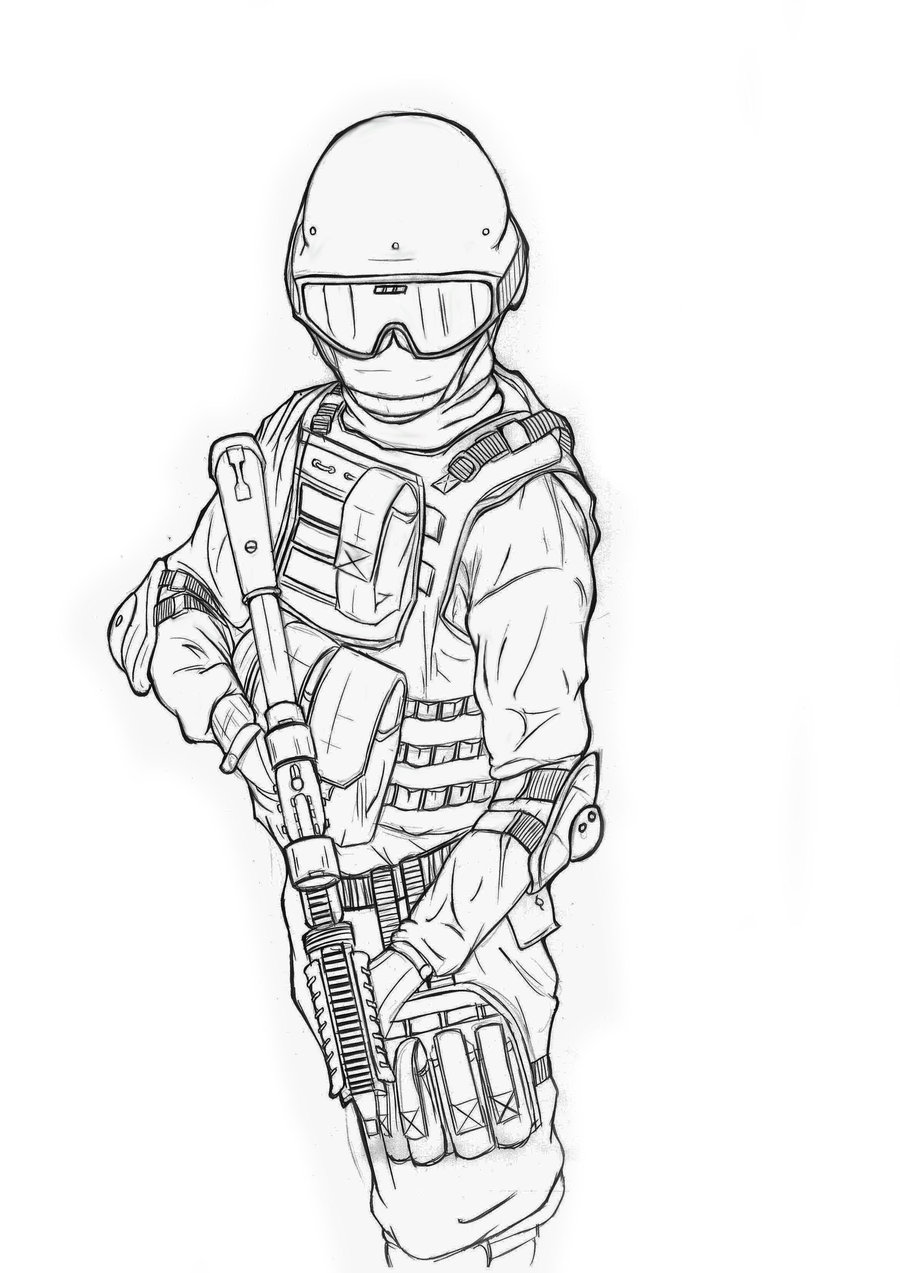
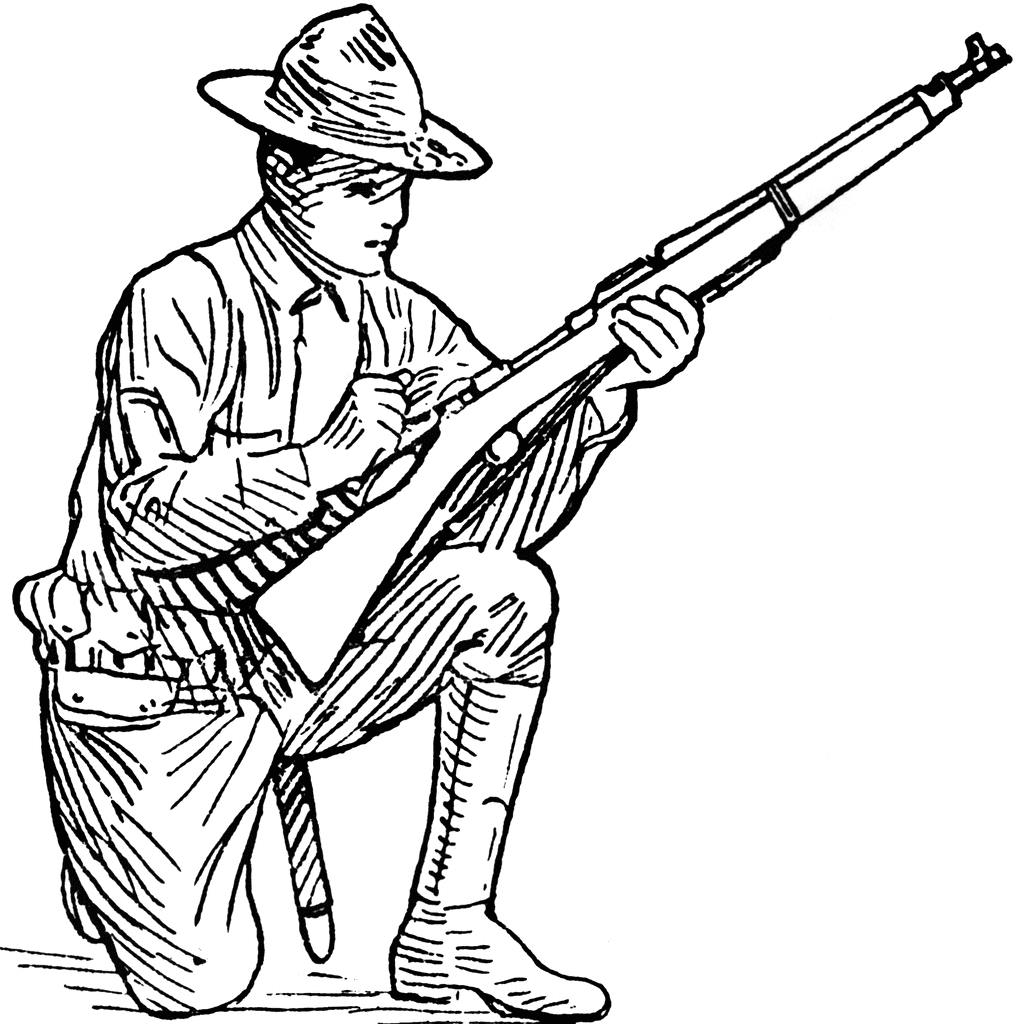
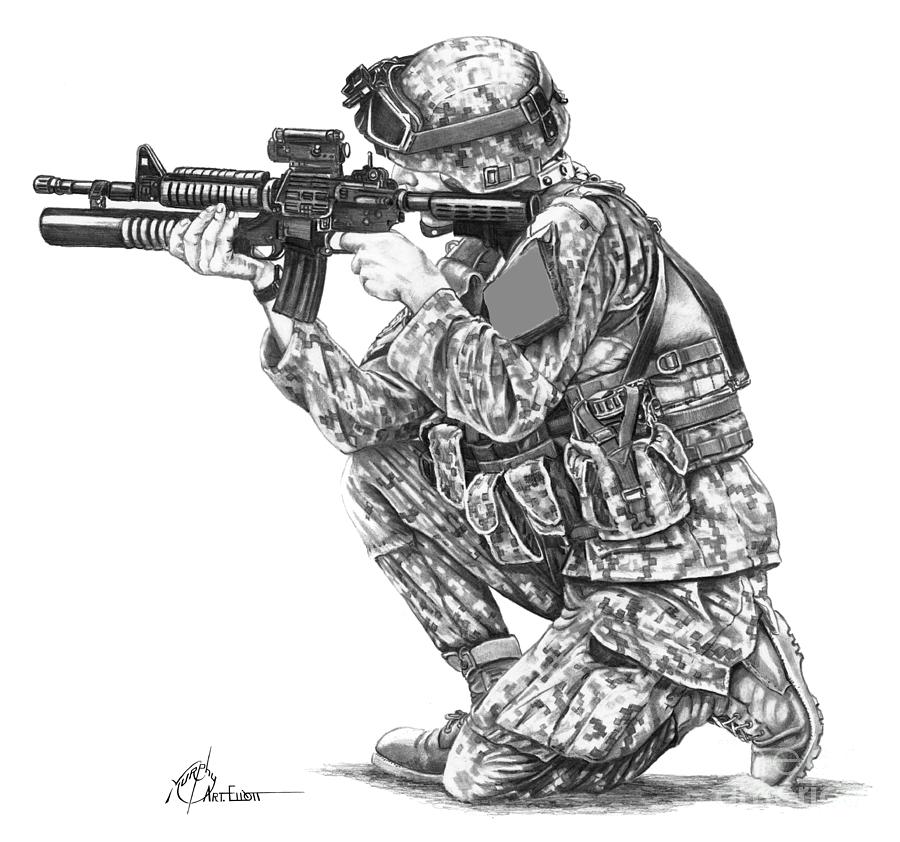
Army characters have unique uniforms and accessories. Draw the uniform with respect to the character’s position. Add a helmet, gloves, boots, and a weapon that fits the uniform.
Refine Your Drawing
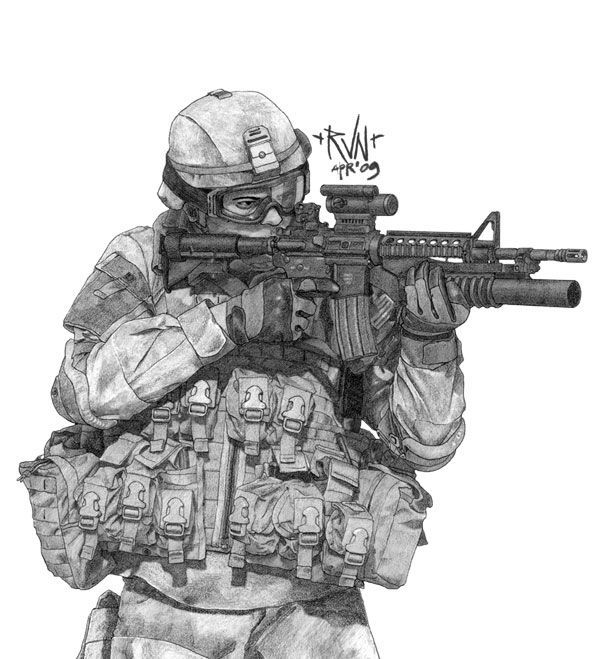
By this point, you should have a rough outline of an army character. Use a darker pencil to refine your lines and details. Add shadows and highlights to finalize your artwork.
Erase Extra Lines And Guidelines
Erase extra lines and guidelines from the drawing. Make sure the main lines of the character are clear and prominent.
Add Personalized Elements
Personalize the army character by adding patches, medals, and other unique elements that represent the character’s personality.
Practice Shading Techniques
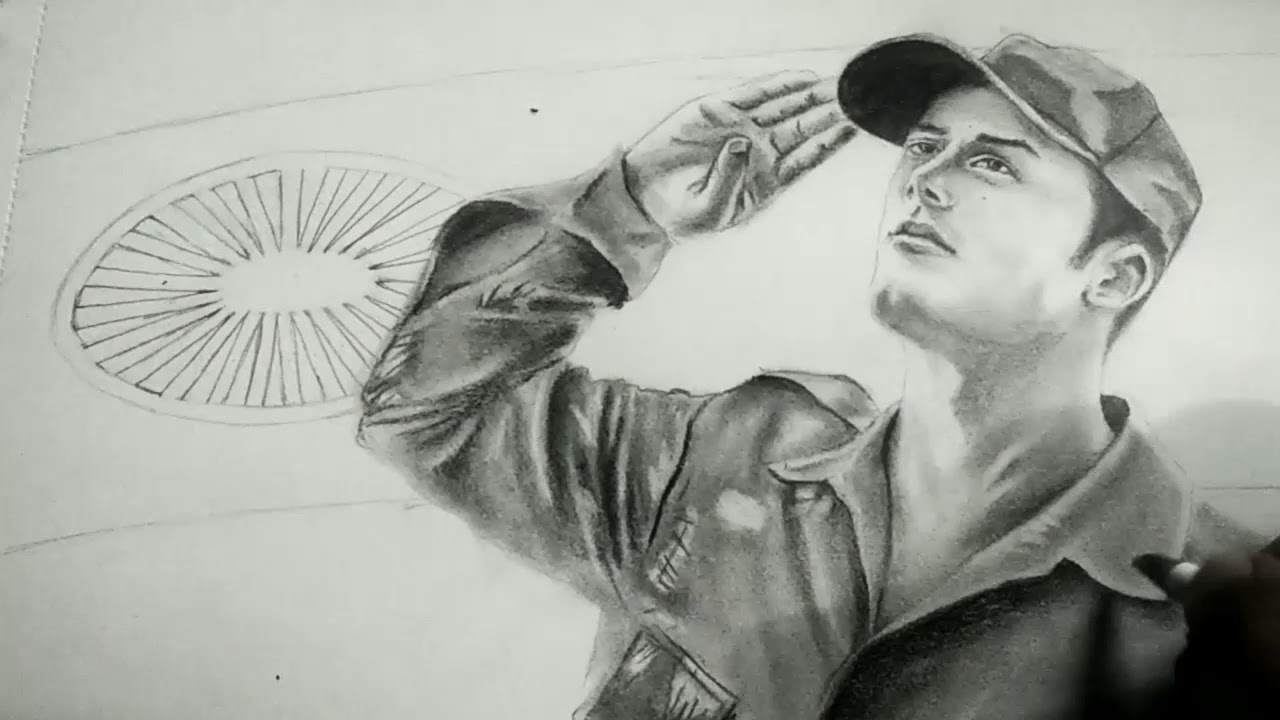
Shading is essential to create a realistic appearance of the army character. Practice shading techniques that can make your drawing three-dimensional.
Add The Background
The background sets the scene for your character. Draw a background that represents the environment in which the character is placed.
Frequently Asked Questions
What Materials Can I Use To Draw An Army Character?
A: Use a pencil, eraser, and drawing paper.
What Is The Best Way To Start Drawing Any Army Character?
A: Begin by sketching the basic shapes of the body to create a framework.
How Do I Add Details To The Uniform?
A: Carefully look at the reference of the uniform, preferably a photo or video, and sketch the details accordingly.
How Do I Shade Differently?
A: Use hatching, cross-hatching, or stippling techniques to create different shades.
Do I Need To Add Background To My Army Character?
A: Yes, it sets the scene for your character.
How Can I Personalize The Army Character?
A: Add unique elements such as patches, medals, or other accessories.
How Can I Make The Army Character Look Realistic?
A: Focus on details such as shadows, highlights, and perspective.
Can I Add Color To My Army Character Drawing?
A: Yes, you can use colored pencils, markers, or paint to add color to your drawing.
How Long Does It Take To Learn To Draw An Army Character?
A: With practice, you should be able to draw an army character in a few days or weeks. Be patient and keep practicing!


