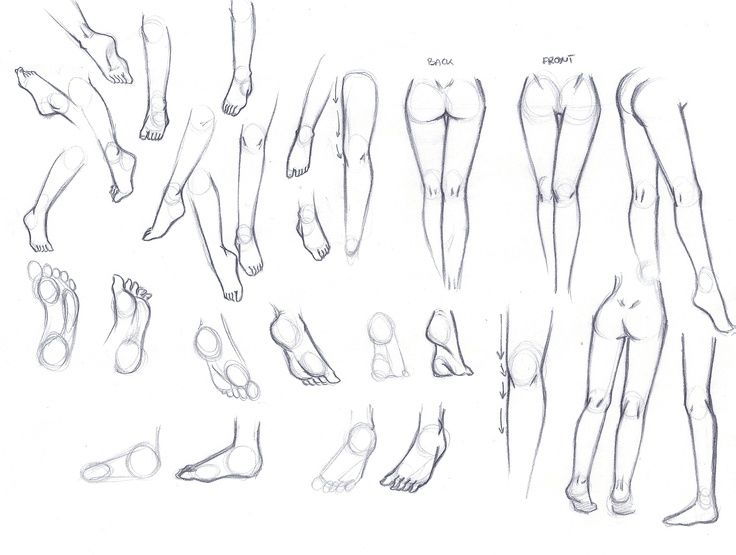
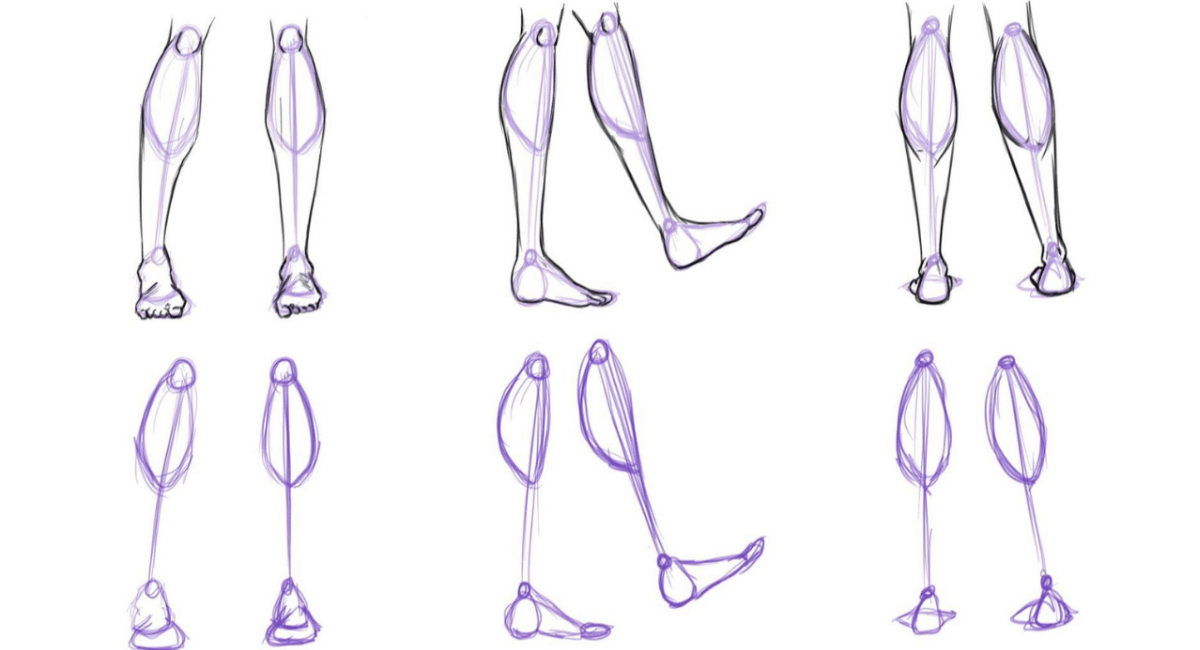
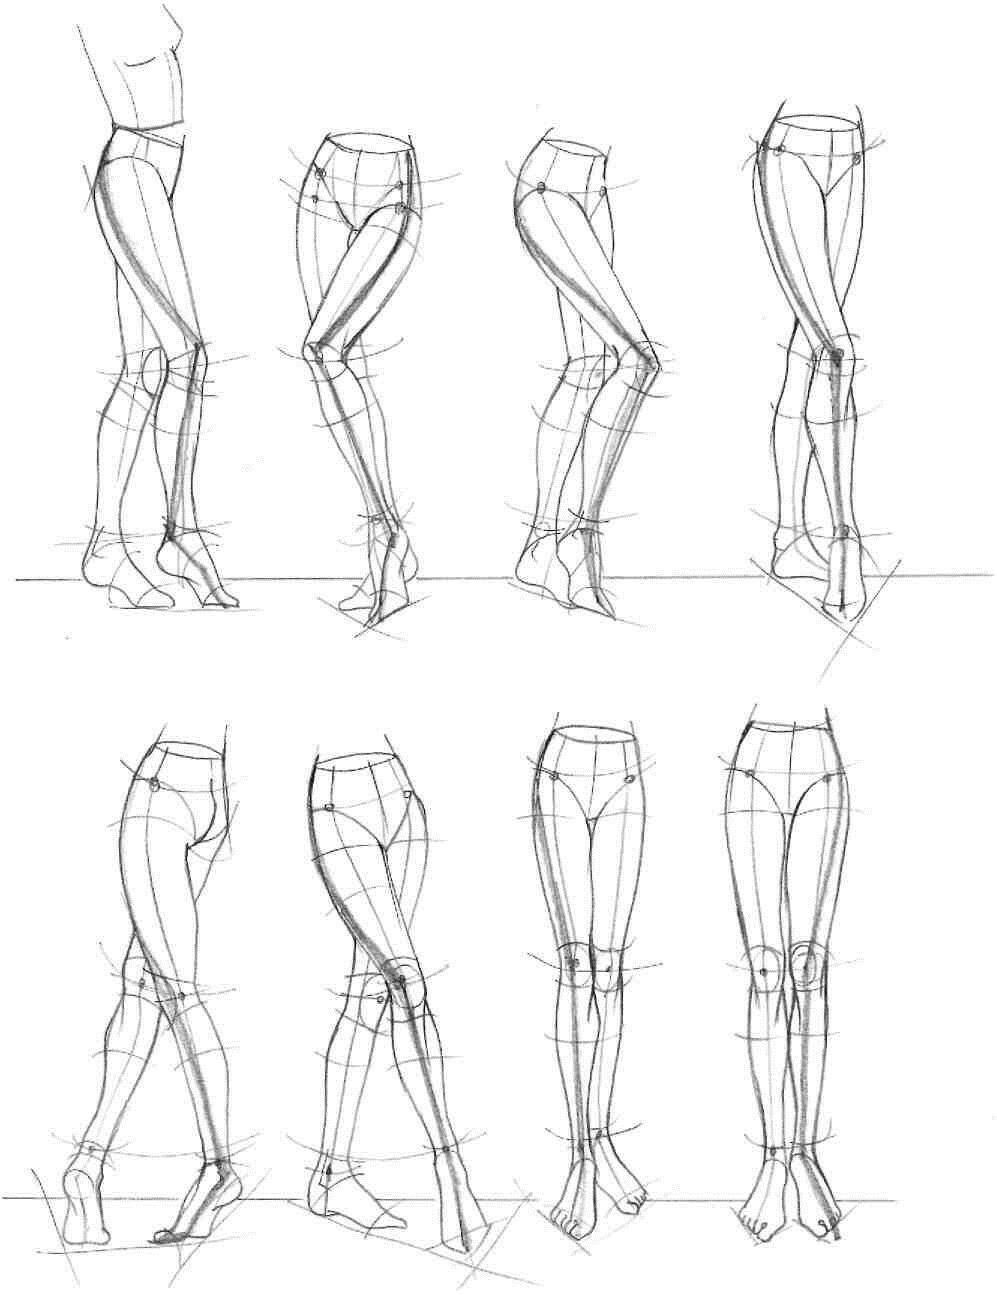
Drawing legs can be a challenging task for beginners. However, with some basic knowledge and a little practice, you can master the art of leg drawing. In this guide, we will provide you with a step-by-step guide to draw legs. We will cover everything from sketching the basic shapes to adding details and shading. So, let’s get started!
Step 1: Sketch Basic Shapes
The first step in drawing legs is to sketch the basic shapes of the legs. Start by drawing a straight line for the upper leg and another straight line for the lower leg. These two lines will intersect at the knee joint. For the foot, draw a small rectangular shape at the end of the lower leg.
Step 2: Connect the Shapes
Once you have sketched the basic shapes, connect them with curves to add volume to the legs. Start by drawing curves to connect the upper leg and the lower leg at the knee joint. Then, draw curves to connect the lower leg and the foot.
Step 3: Add Details
Next, add some details to your leg drawing. Draw three circles at the knee joint to represent the patella, or kneecap. Draw the ankles with a slightly curved line. For the toes, draw small ovals on the ends of the feet.
Step 4: Draw Muscles
Muscles are an essential part of the legs, so it’s important to add them to your drawing. Start with the quadriceps on the front of the upper leg. Draw two slightly curved lines down the front of the leg to represent these muscles. Then, add the hamstrings to the back of the upper leg. Draw two curved lines to represent this muscle group. Finally, draw the calf muscles on the back of the lower leg with two curves that protrude from the knee to the ankle.
Step 5: Shading
Shading adds depth and texture to your drawing. Start by evaluating where the light source is coming from. Determine which areas would be the darkest and which areas would be the lightest. Shade the darker areas with more pressure on your pencil. Use less pressure when shading lighter areas.
Step 6: Finishing Touches
Once you have completed shading, add any final details to your drawing. Clean up any rough lines, erase any unnecessary lines, and refine the details.
Drawing Techniques
– Use reference images for accurate proportions and details
– Practice drawing different poses and angles
– Draw the legs in proportion to the rest of the body
– Start with basic shapes and add details gradually
– Use shading to add depth and texture
Frequently Asked Questions
Q: How do I make my leg drawing look more realistic?
A: Use reference images to get a better understanding of the muscles, proportions, and lighting. Practice different poses and angles to improve your technique.
Q: What are some common mistakes to avoid when drawing legs?
A: Common mistakes include incorrect proportions, misshapen legs, and lack of muscle definition. Use reference images and practice to avoid making these mistakes.
Q: Are there any exercises I can do to improve my leg drawing skills?
A: Yes, you can practice drawing different leg poses and angles. You can also study the anatomy of the legs to get a better understanding of the muscles and structure.
Q: How do I choose the right pencil for leg drawing?
A: It depends on your preference, but generally, a harder pencil (like an H or 2H) is better for sketching basic shapes, while a softer pencil (like a B or 2B) is better for shading and adding details.
Q: How can I add motion to my leg drawing?
A: You can add motion by drawing the legs in different poses or by adding lines to represent action, like a leg in mid-stride.
Q: Can I draw legs without using reference images?
A: While it is possible to draw legs without reference images, using references will ensure accurate proportions and details.
Conclusion
Drawing legs can be challenging, but with this step-by-step guide, you can improve your skills. Remember to start with basic shapes and gradually add details, use shading to add depth, and practice different poses and angles. With practice, you can master the art of leg drawing.


