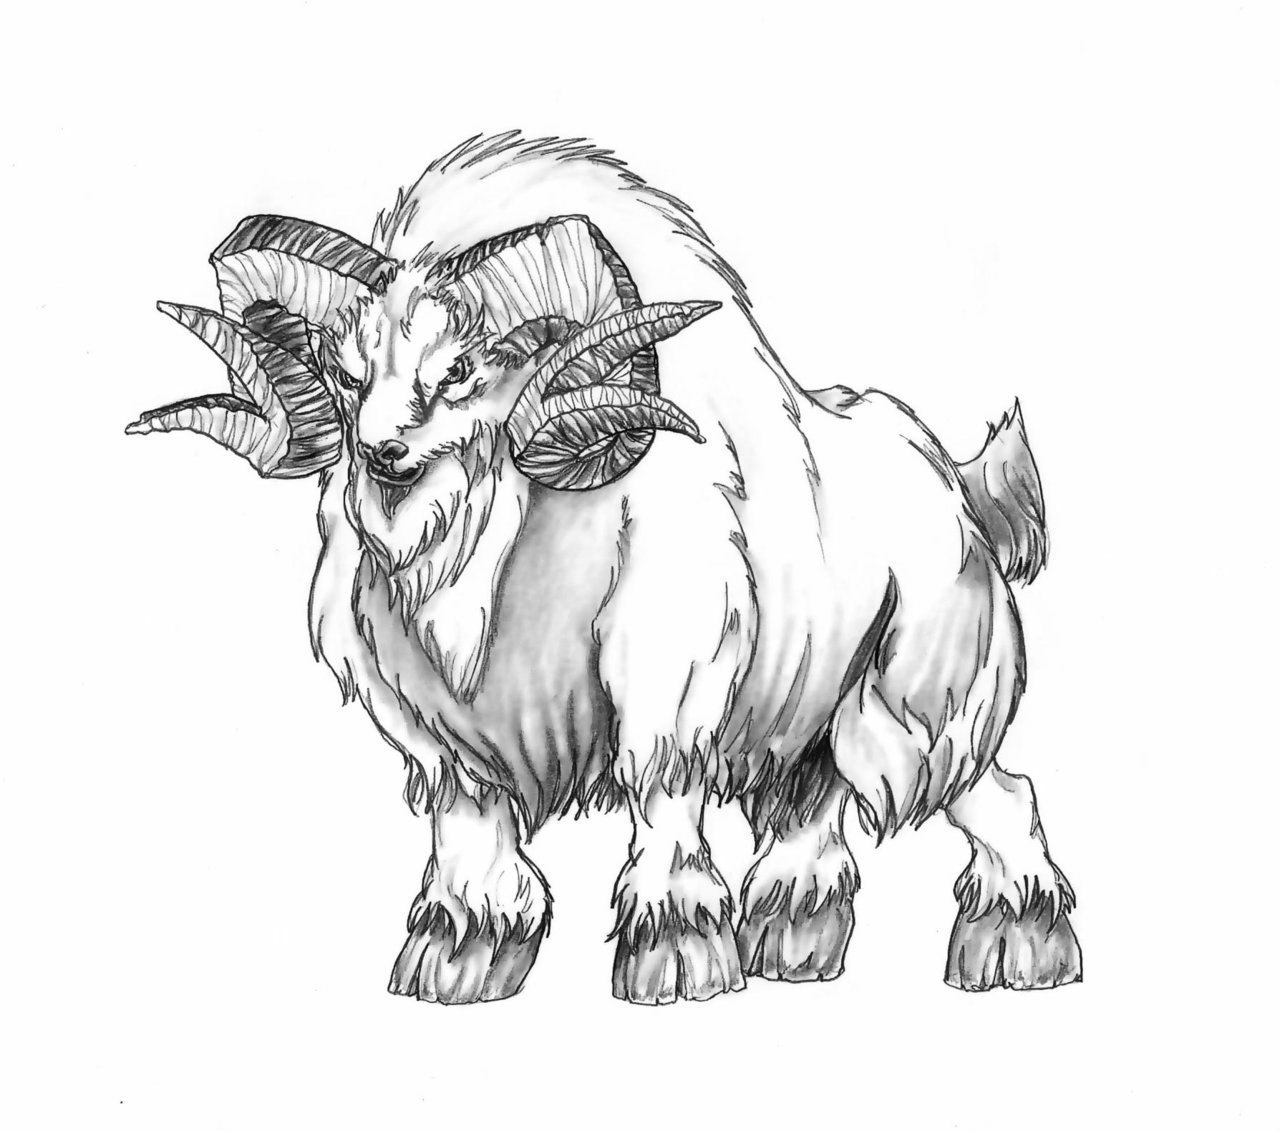
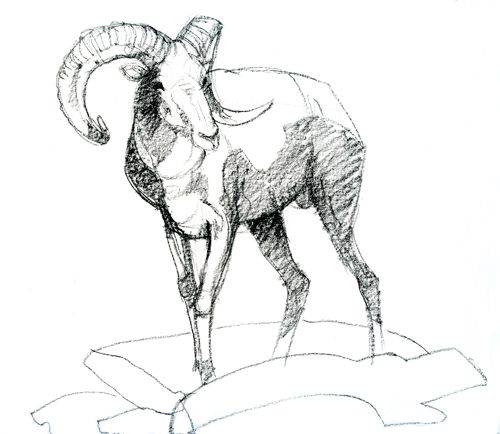
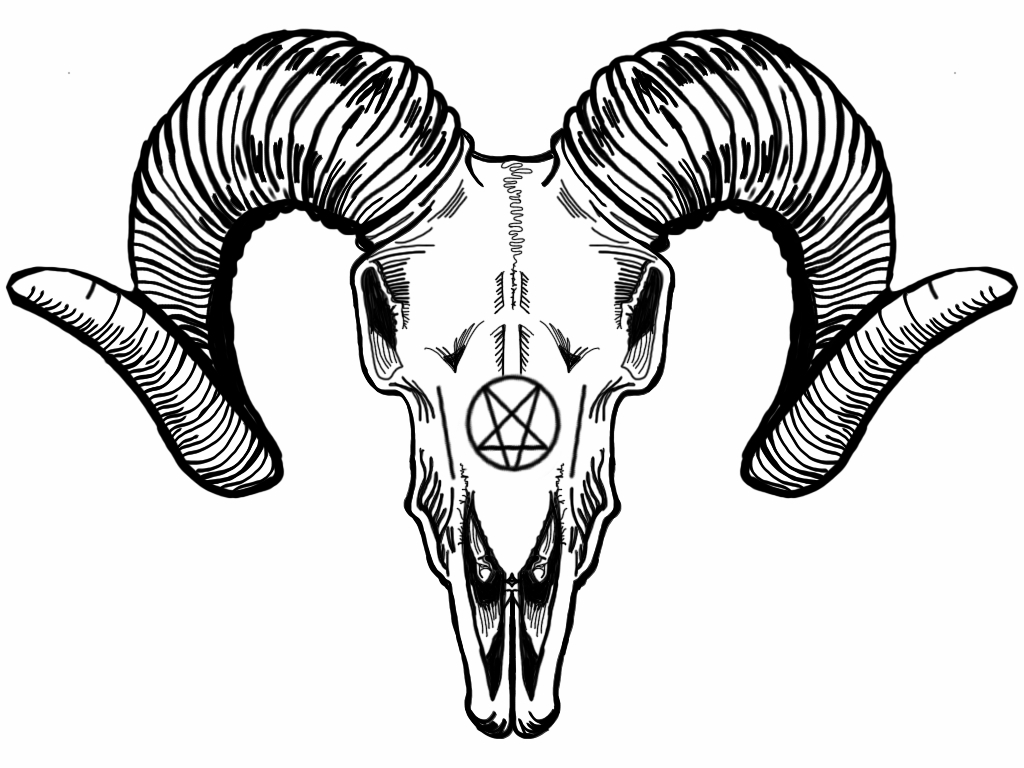
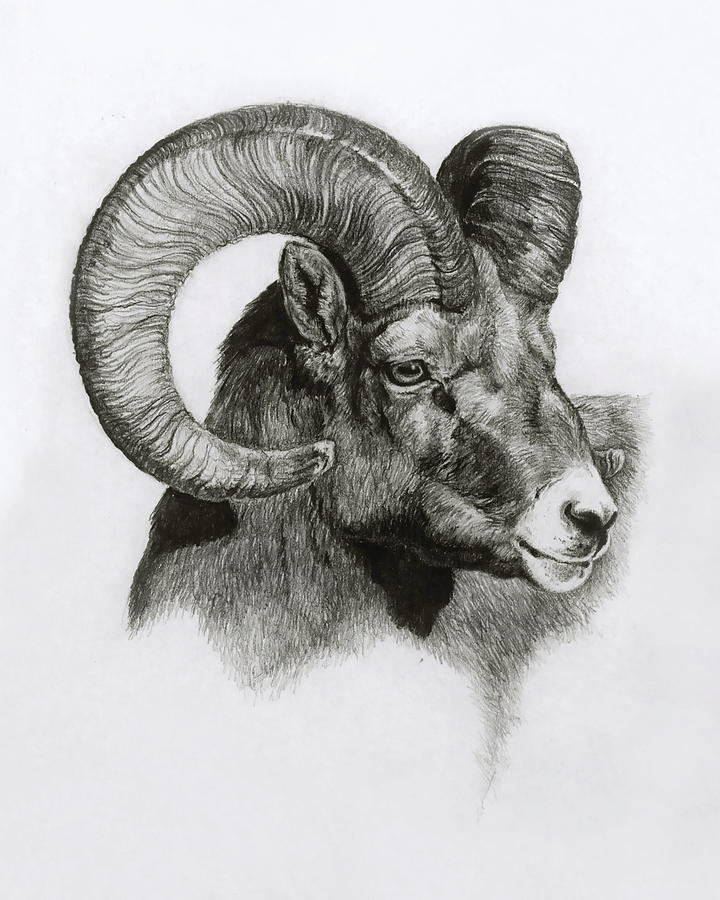
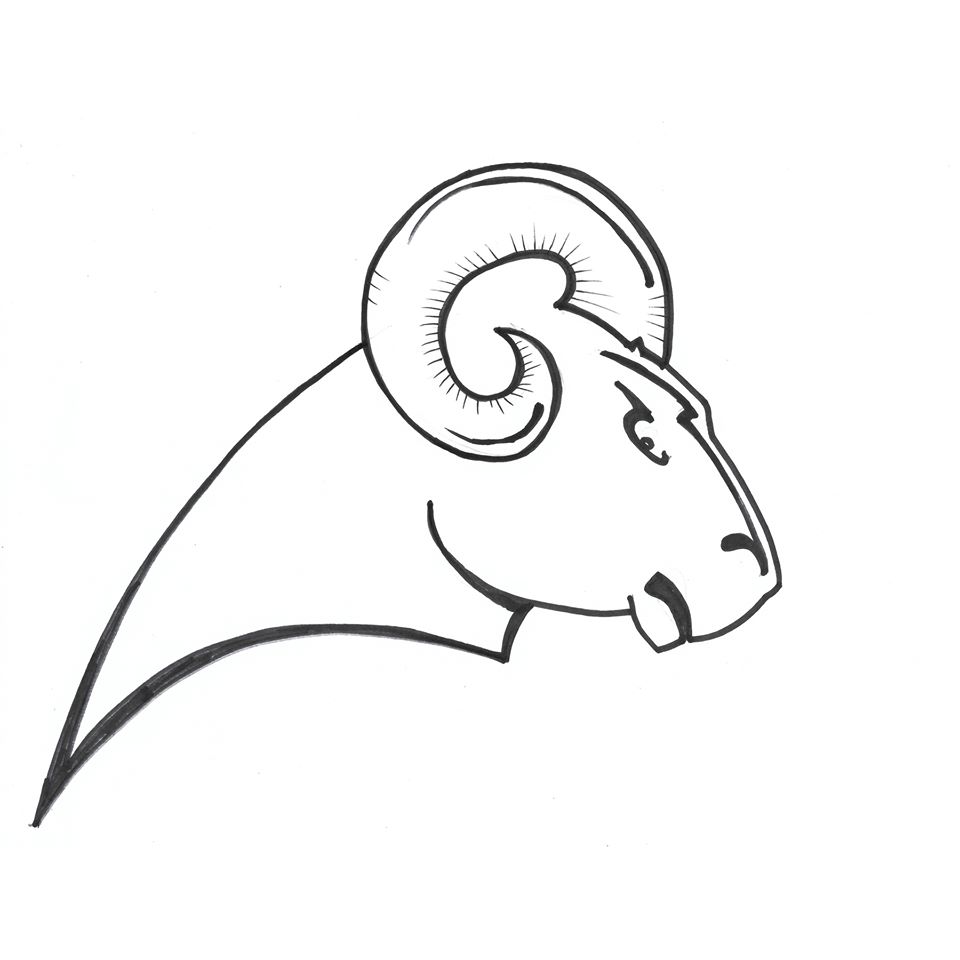
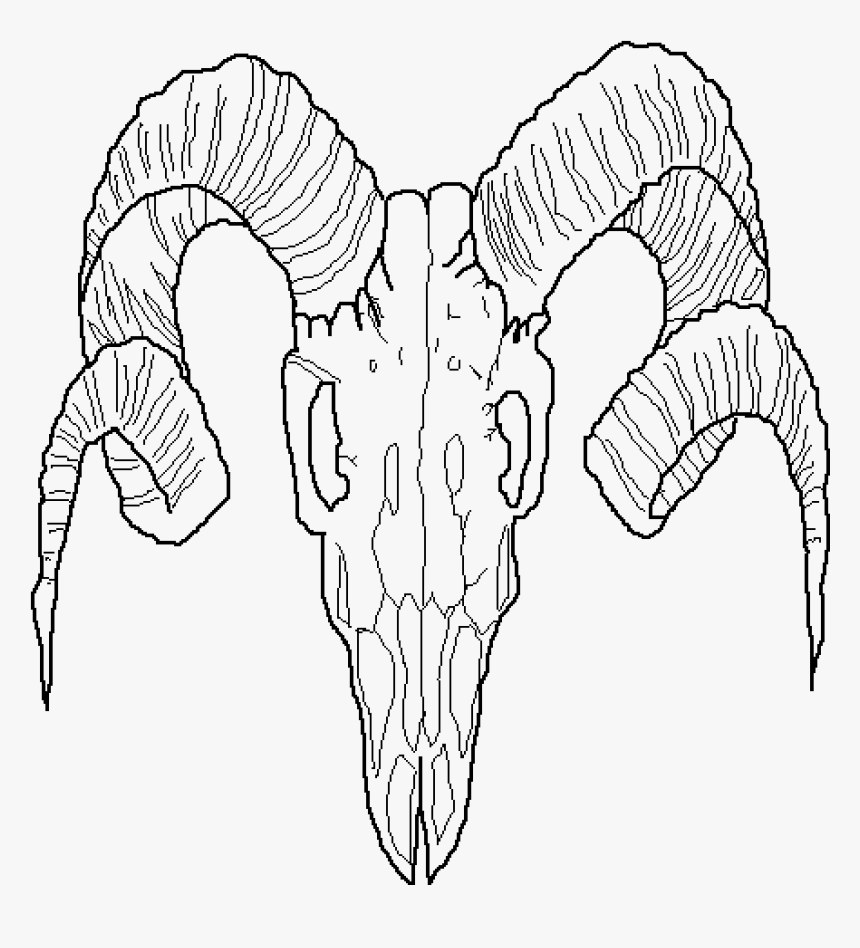
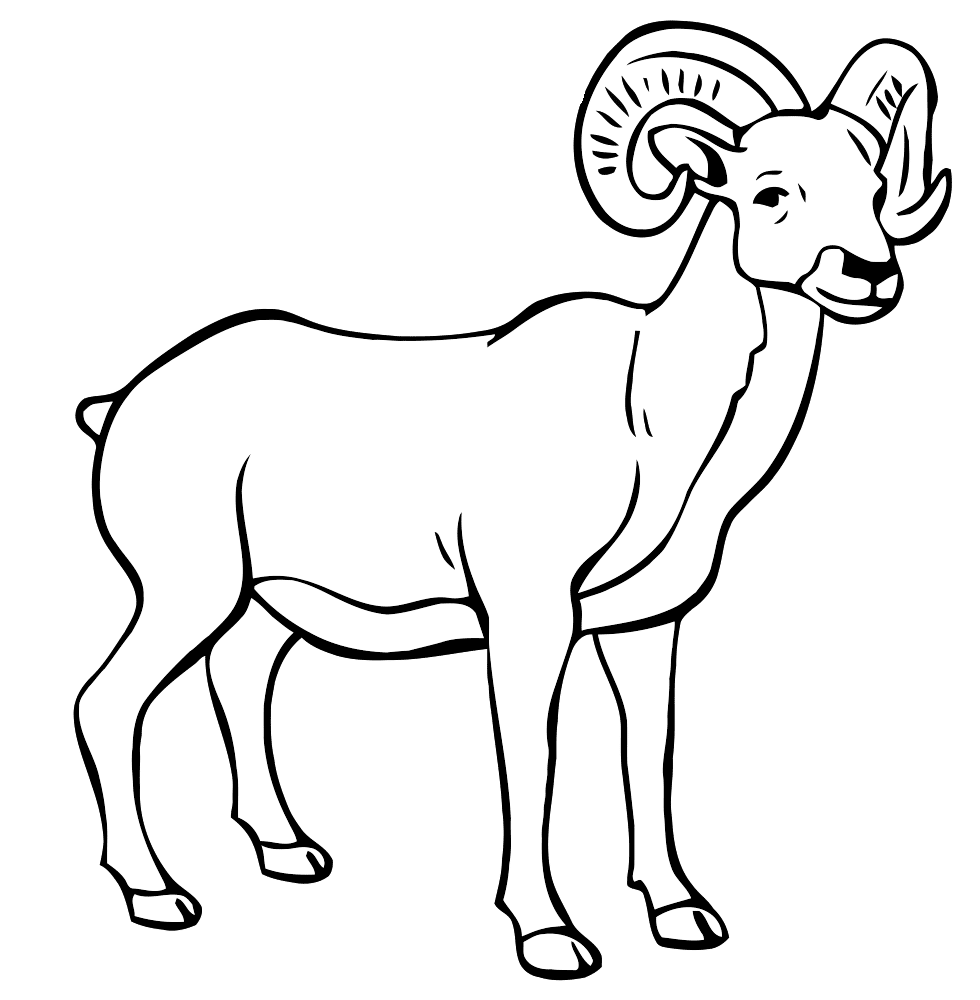
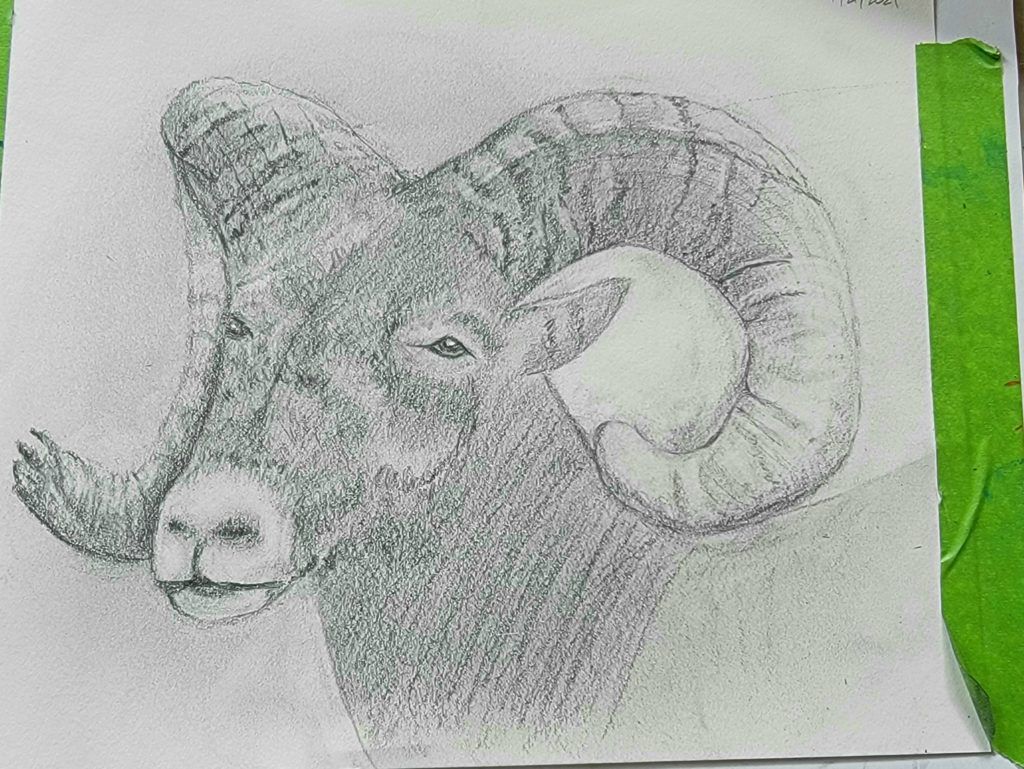
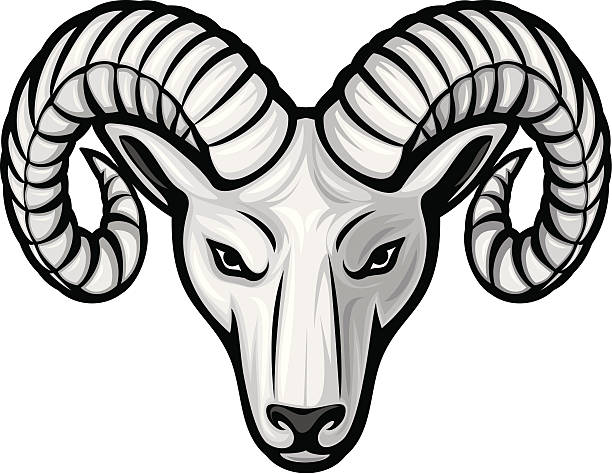
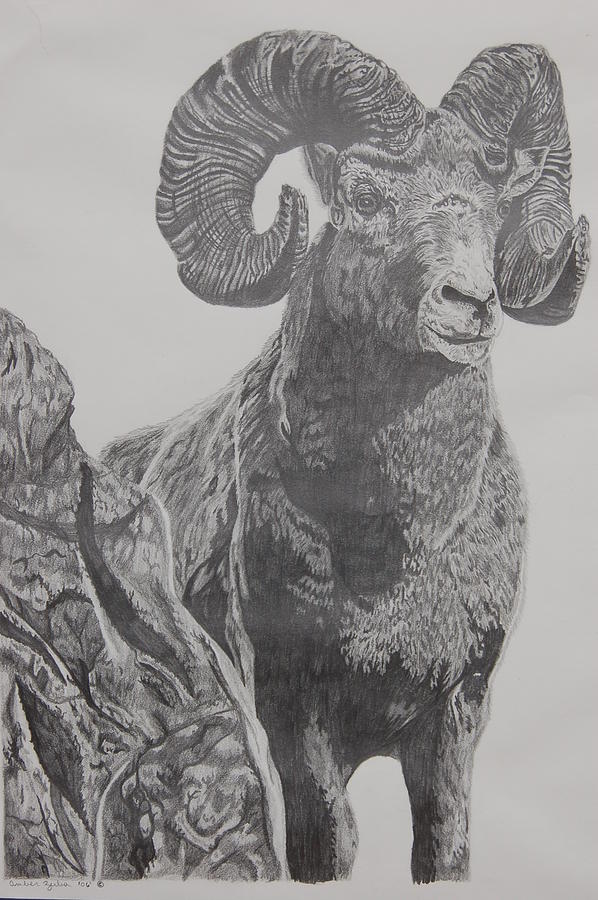
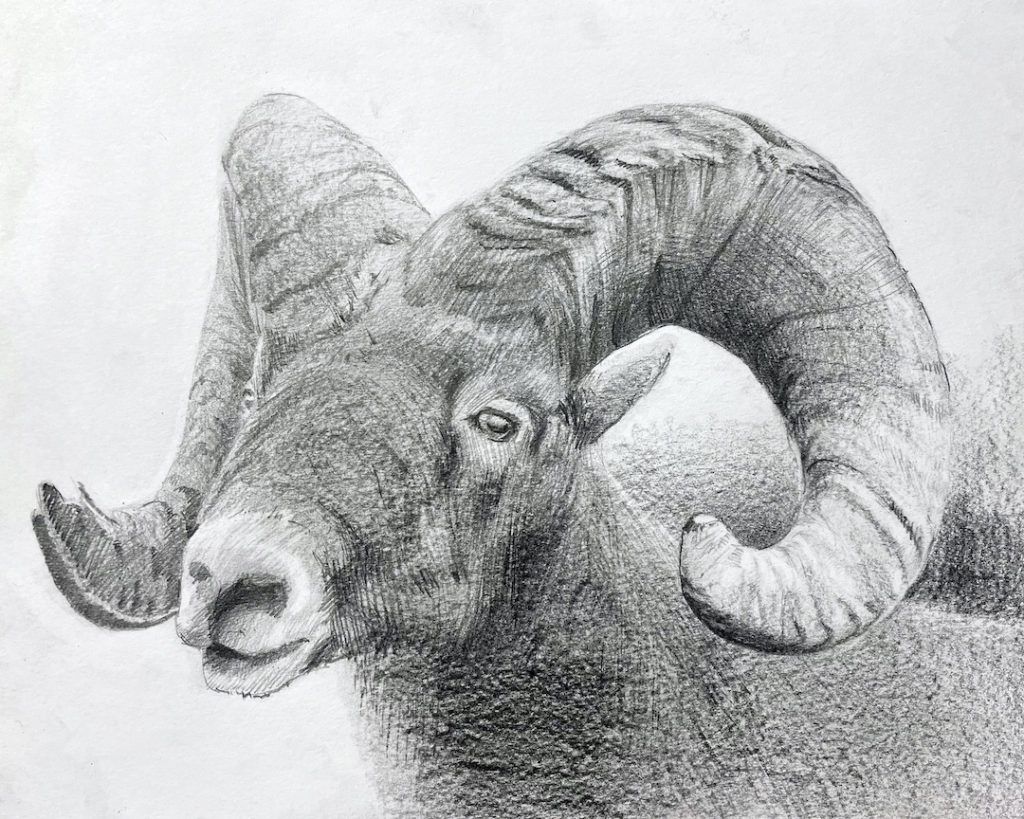
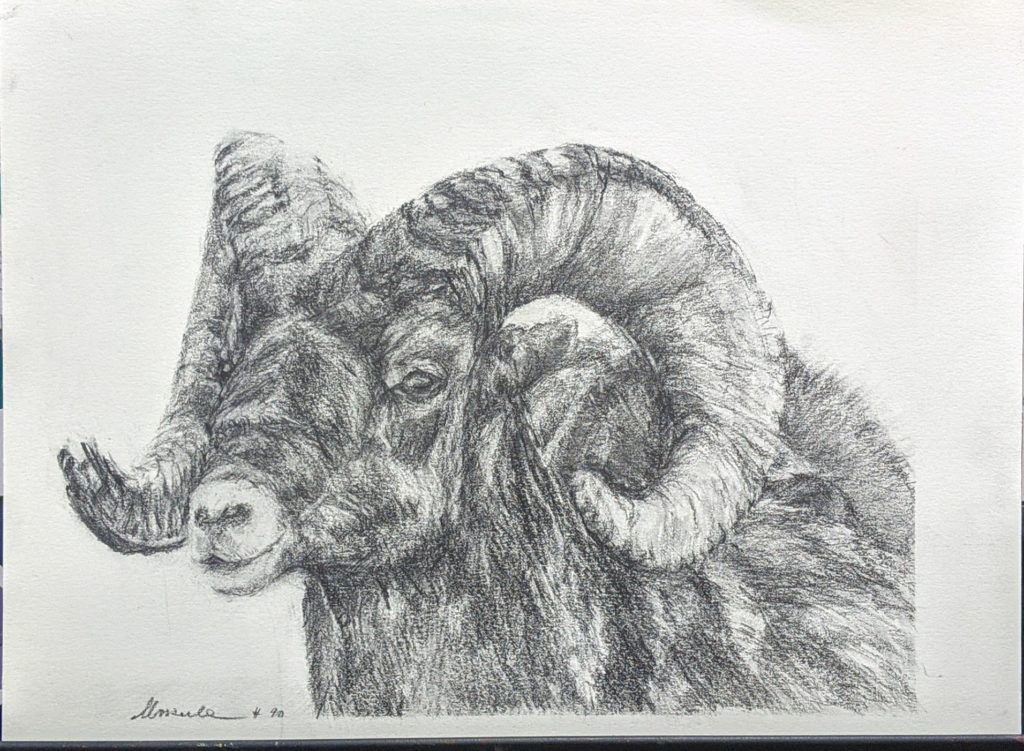
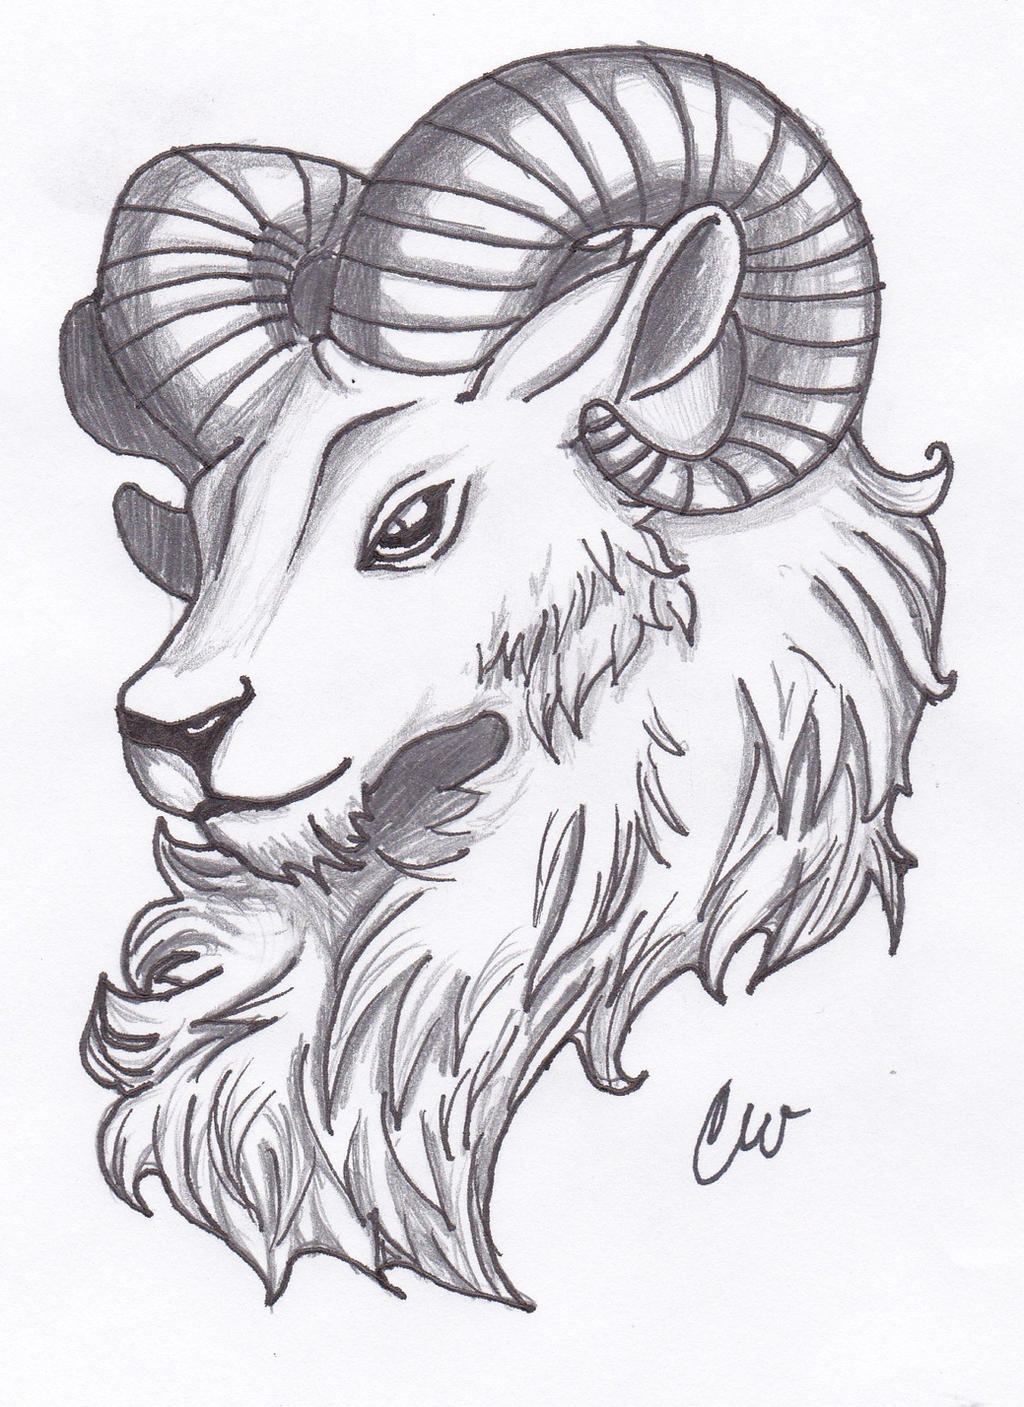
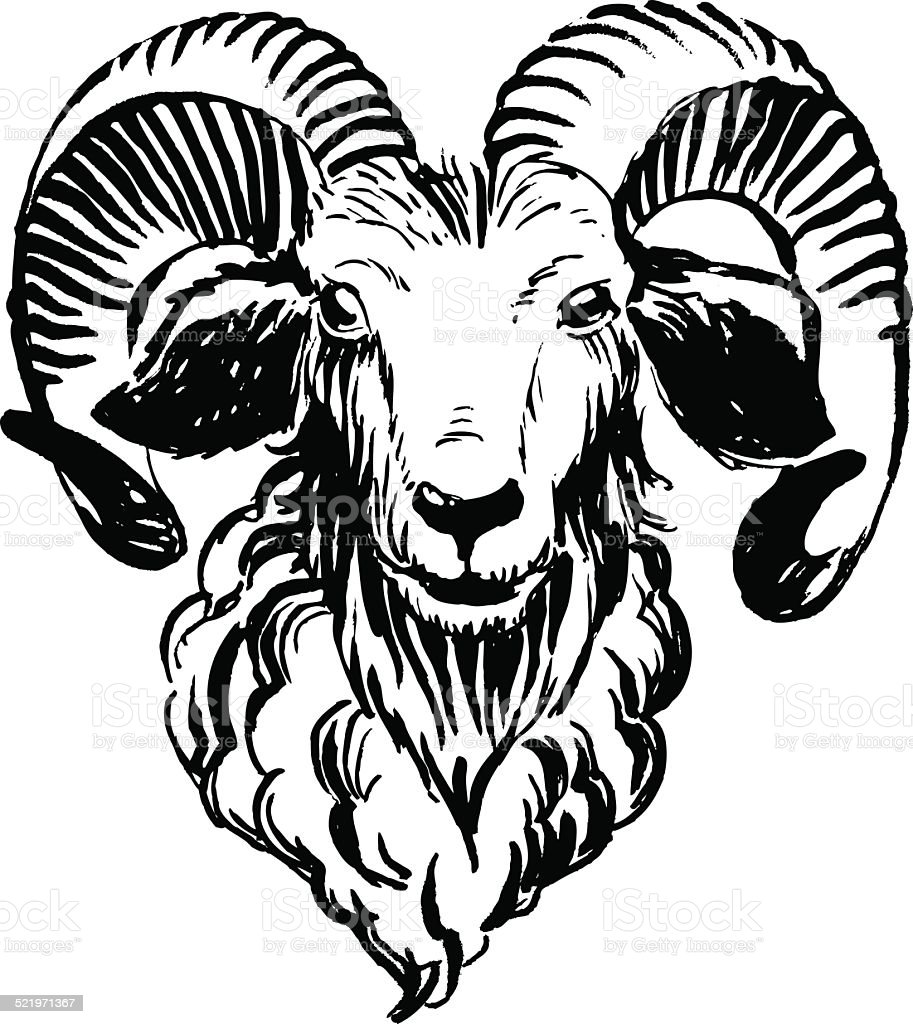
Are you a fan of animals and looking for a new challenge? Why not try drawing a ram! Rams are awe-inspiring creatures that are known for their powerful horns and majestic appearance. This guide will take you through the steps of drawing a ram, from basic shapes to detailed shading.
Materials Needed:
- Pencil
- Paper
- Eraser
Step 1: Sketching Basic Shapes
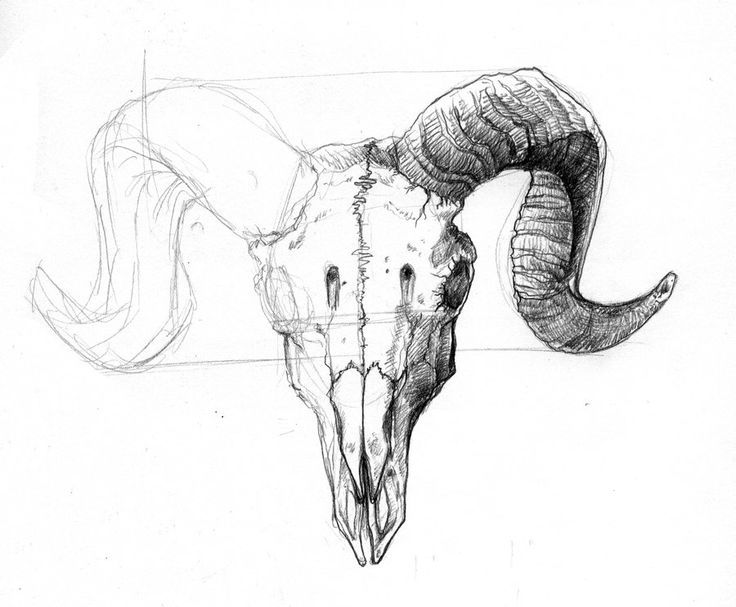
Start by sketching the basic shapes of the ram’s head and body. Draw an oval shape for the head, a rectangular shape for the body, and use guidelines to draw the overall shape of the ram. Don’t worry about adding any details at this stage.
Step 2: Refining the Shapes
Once you have the basic shapes in place, refine them by adding details such as the ram’s horns, eyes, nose, and mouth. Take your time and use reference images to get the proportions right.
Step 3: Adding Shading
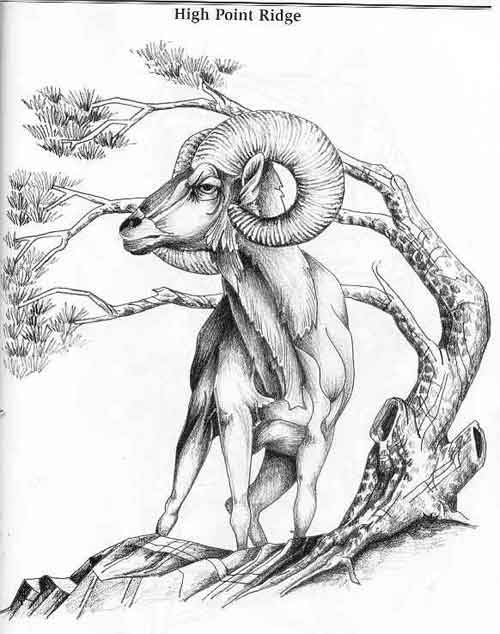
Next, add shading to your ram drawing to give it depth and dimension. Use a light source to determine where the shadows and highlights should be, and shade accordingly. Start with a light layer of shading and build it up gradually, using an eraser to lighten areas as needed.
Step 4: Final Touches
Finally, add any final touches to your ram drawing, such as texture to the fur, and make any last-minute adjustments.
Tips and Techniques:
- Use reference images as inspiration for your ram drawing.
- Start by drawing lightly and build up your drawing gradually.
- Use an eraser to adjust areas as needed.
- Take your time and don’t get discouraged if your drawing doesn’t look perfect right away.
Frequently Asked Questions (FAQs)
1. What is the best pencil for drawing a ram?
Most artists prefer a mechanical pencil with a 0.5 lead for drawing rams. This allows for precision and light shading.
2. Should I use a reference image when drawing a ram?
Yes, it’s a good idea to use a reference image when drawing a ram to ensure that you get the proportions and details right.
3. How do I draw realistic-looking fur on a ram?
To draw realistic-looking fur on a ram, use short, quick strokes with your pencil to create texture. Vary the length and direction of the strokes to create a natural-looking pattern.
4. How do I shade a ram’s horns?
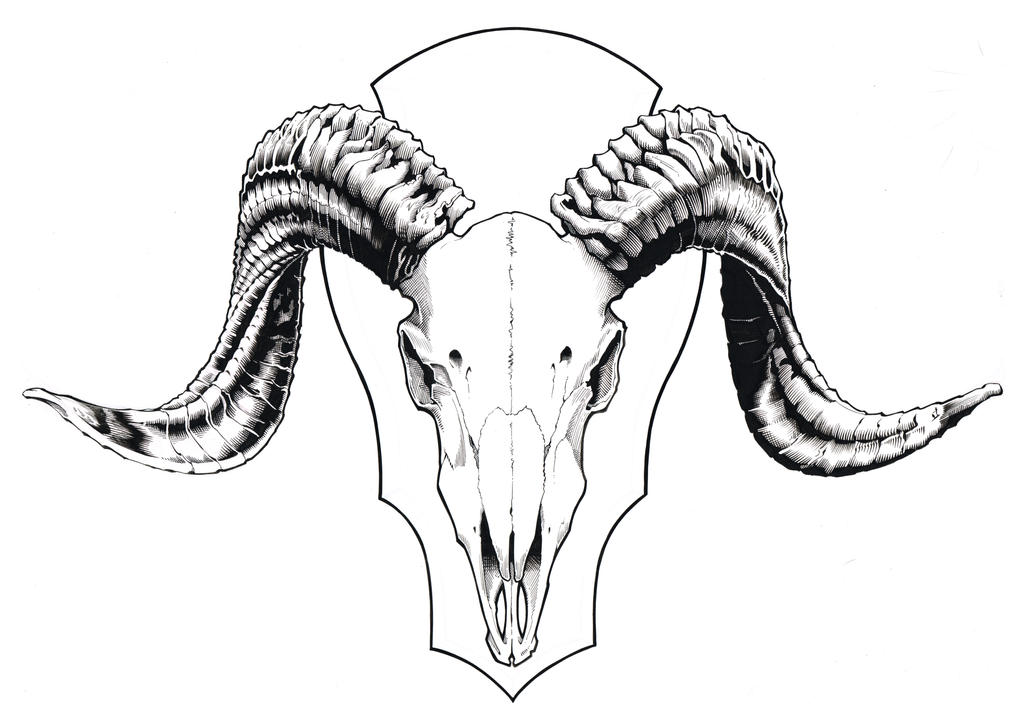
To shade a ram’s horns, start by drawing the basic shape and then use a variety of shading techniques to give them dimension. Use a light source to determine where the shadows and highlights should be.
5. How can I make my ram drawing look more realistic?
To make your ram drawing look more realistic, pay attention to the details such as the texture of the fur and the shape of the horns. Use shading to give the drawing depth and dimension.
6. What if I make a mistake?
Mistakes happen, even to experienced artists. Don’t be afraid to use an eraser to adjust areas as needed. It’s all part of the process!
Conclusion
Drawing a ram may seem daunting at first, but with the right tools, techniques, and some practice, anyone can create a stunning drawing. Remember to take your time, use reference images, and have fun with it!


