Materials Required
To create a sad drawing, you will need the following materials:
- -unlined paper
- -pencil
- -eraser
- -tissue paper
- -black pen
- -grey and black shades of soft charcoal
Steps For Creating a Sad Drawing
1. Sketch The Basic Outline
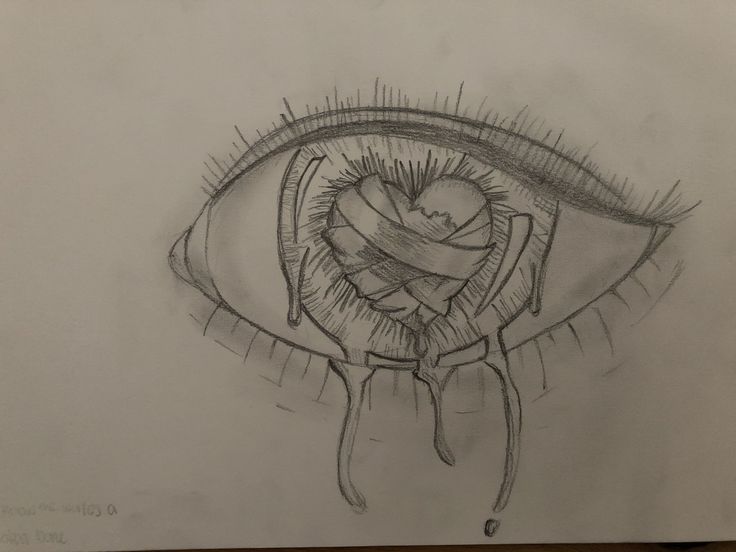
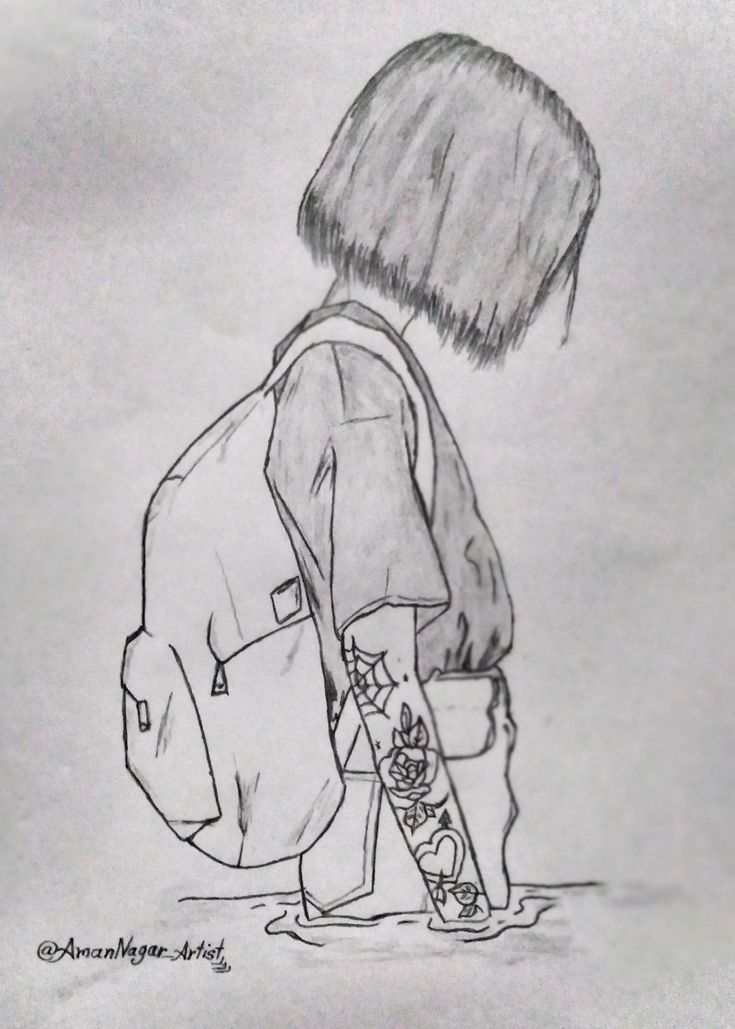
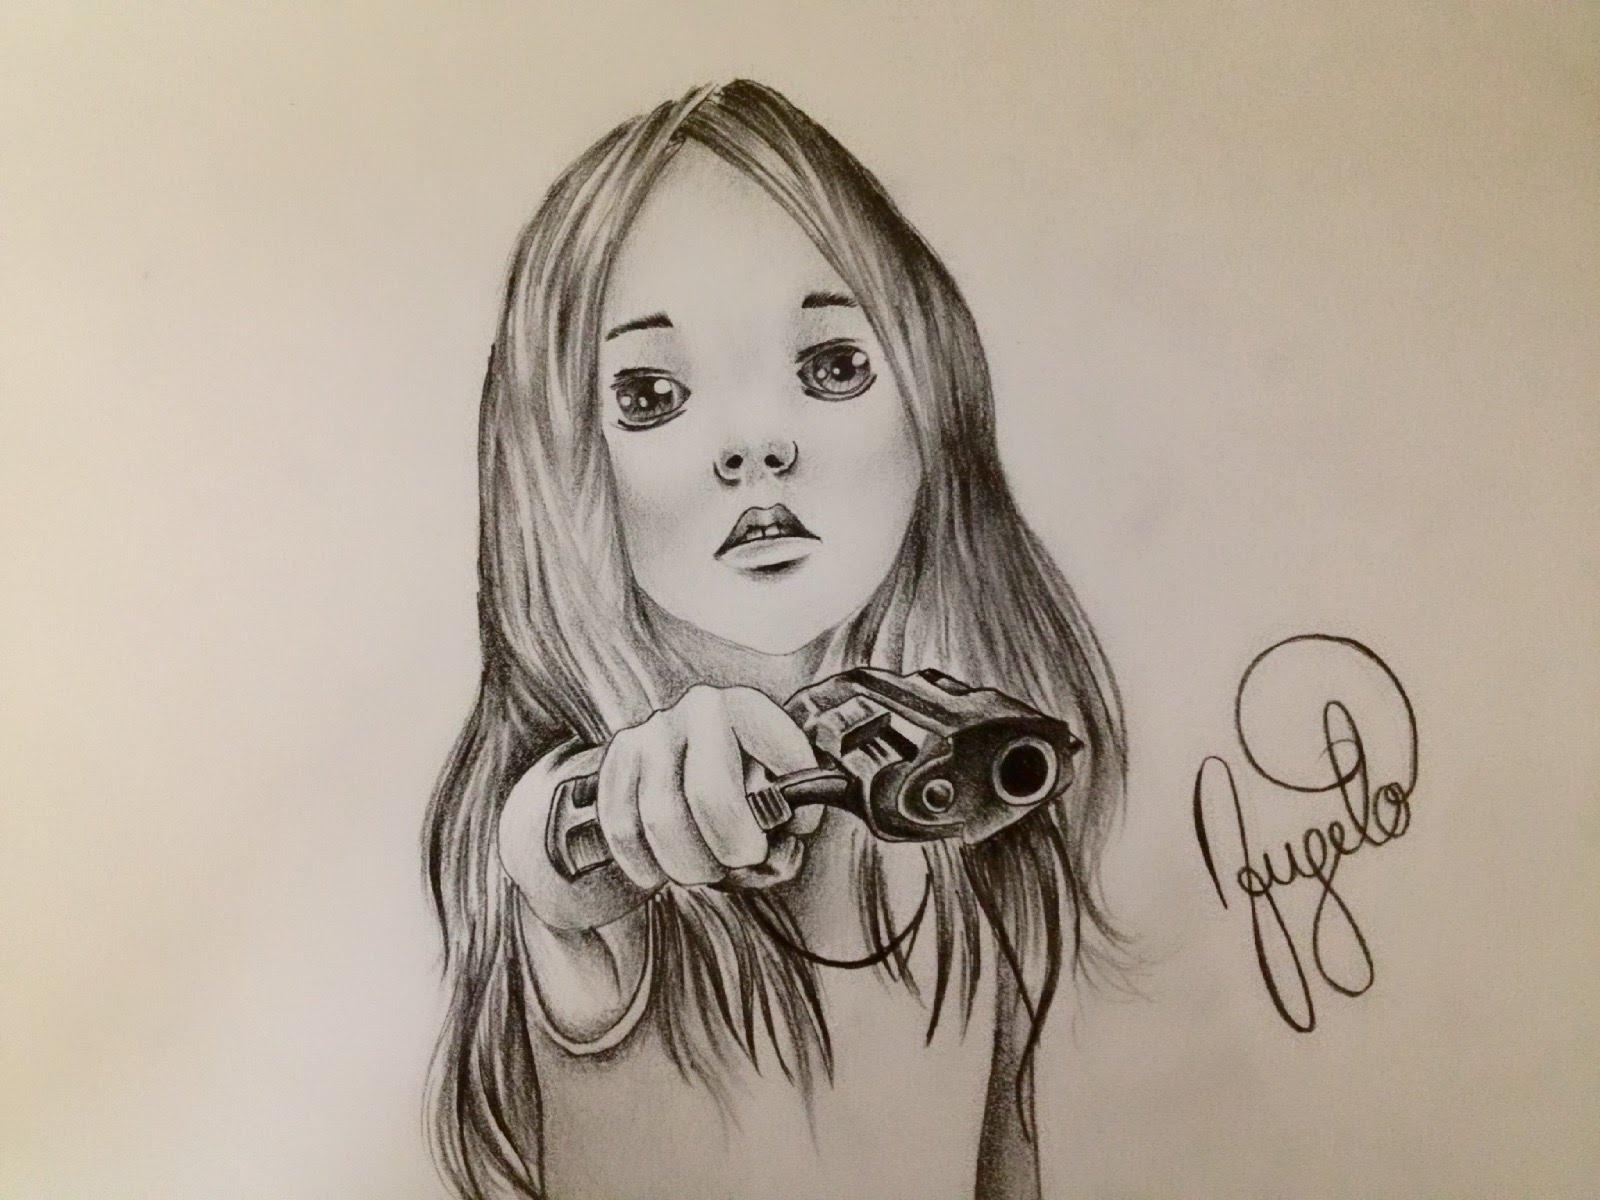
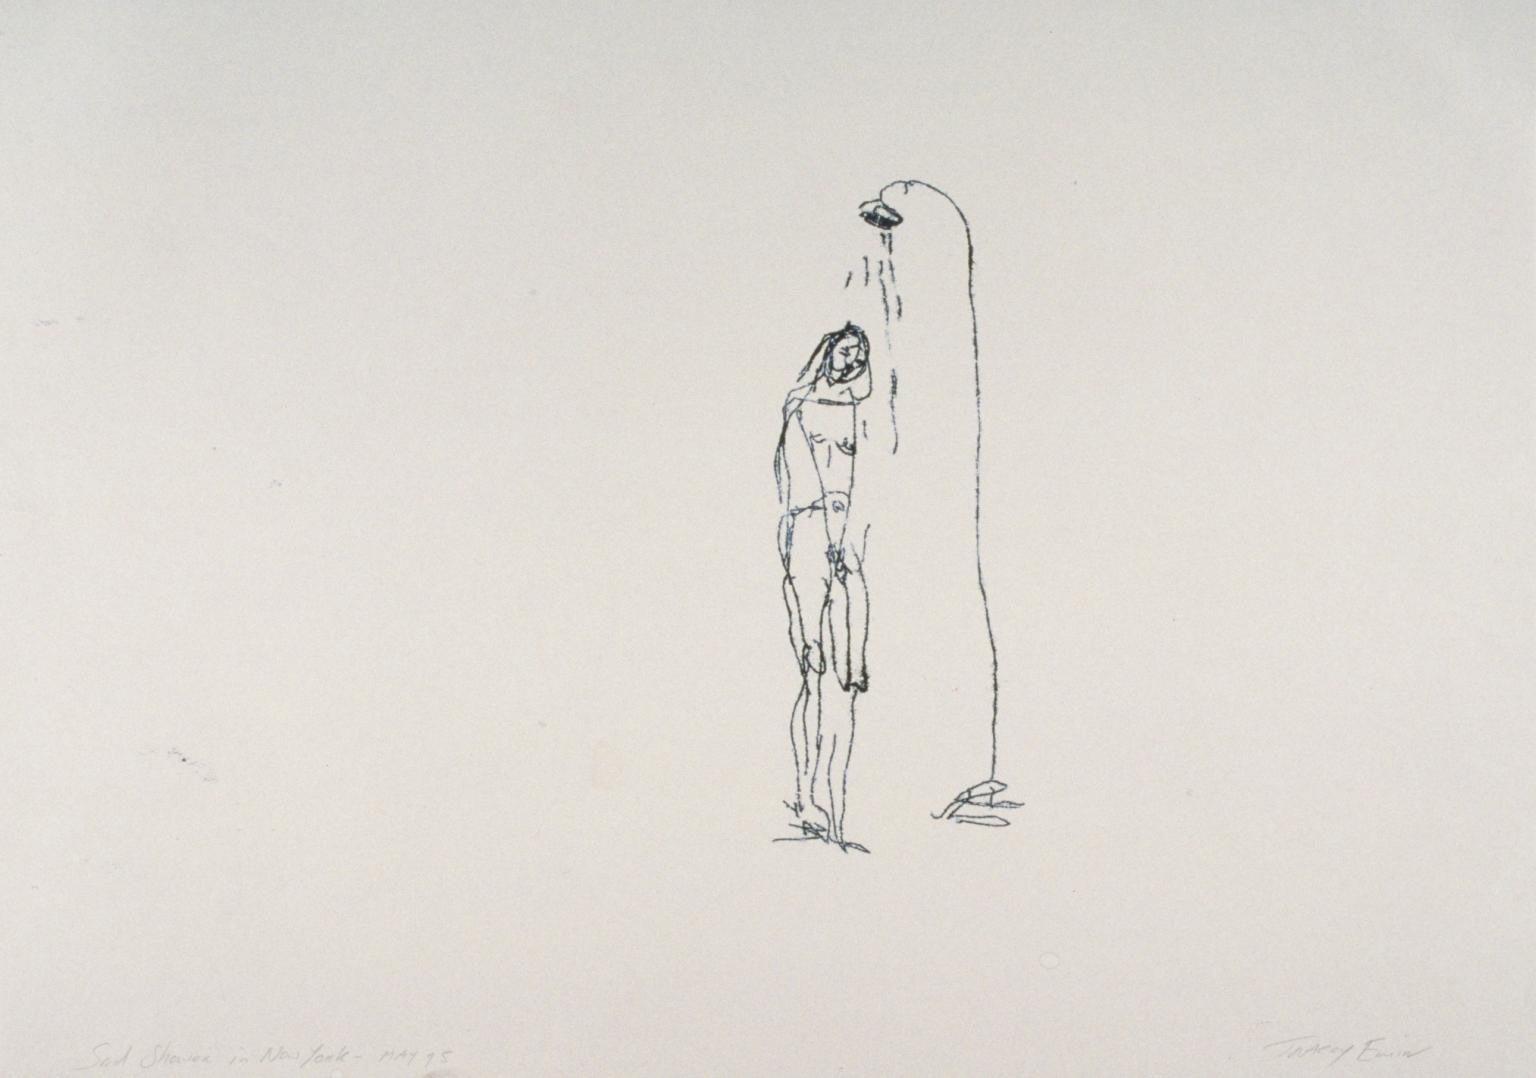
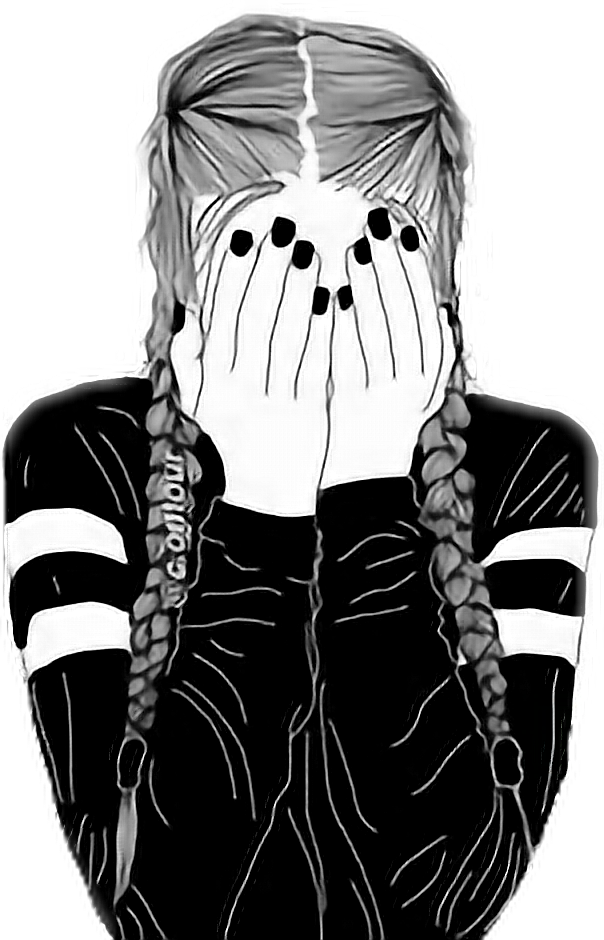
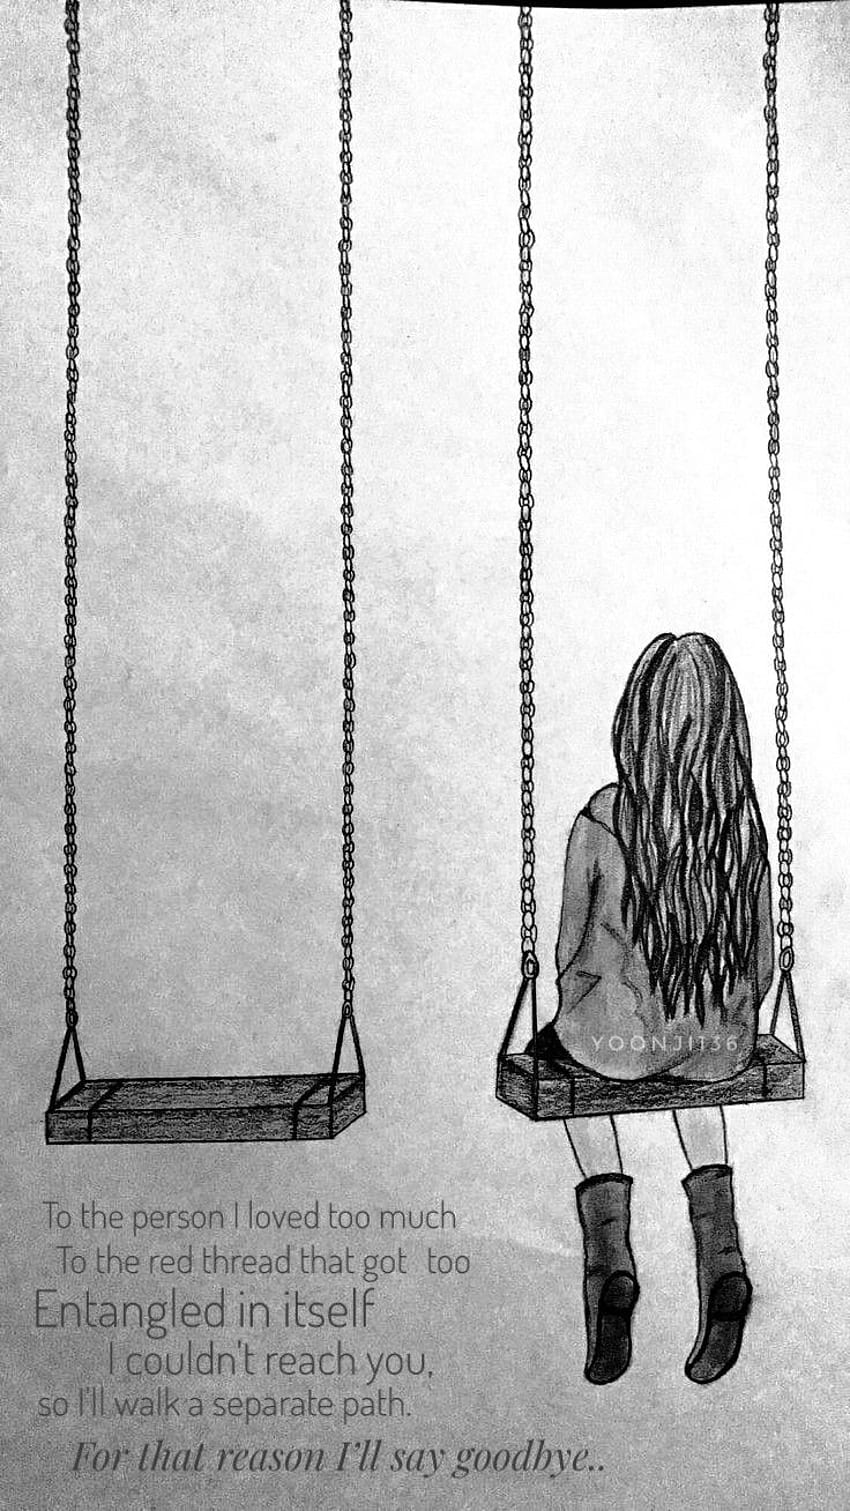
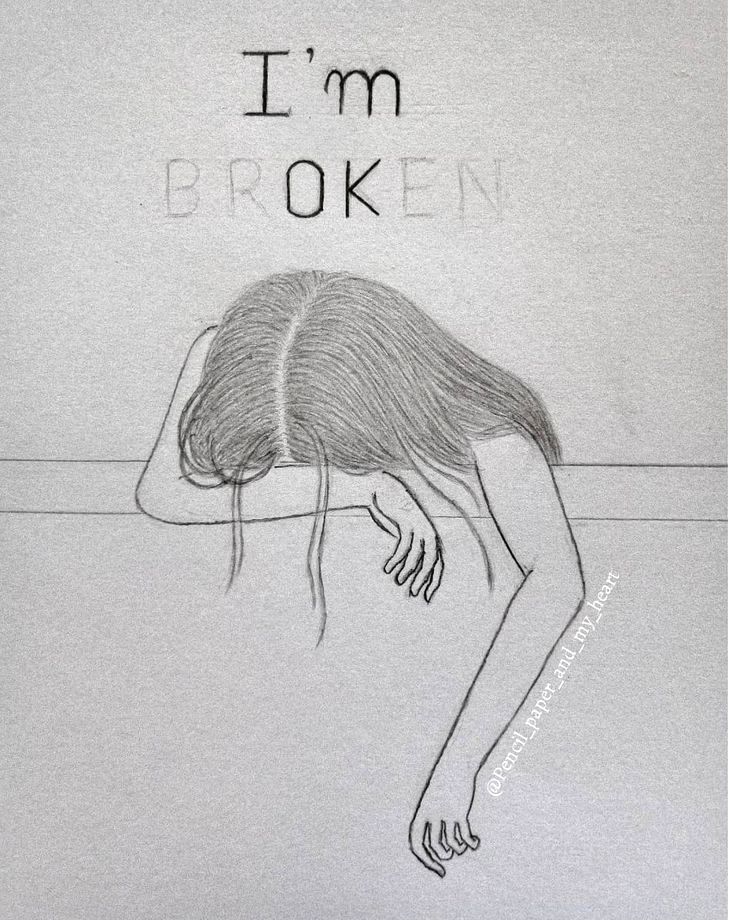
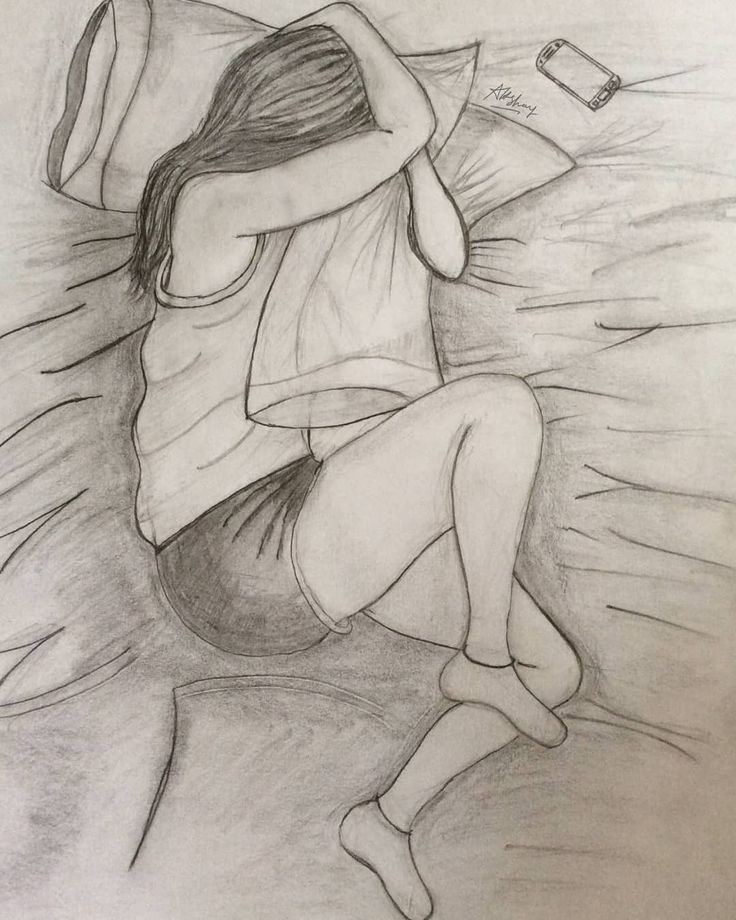
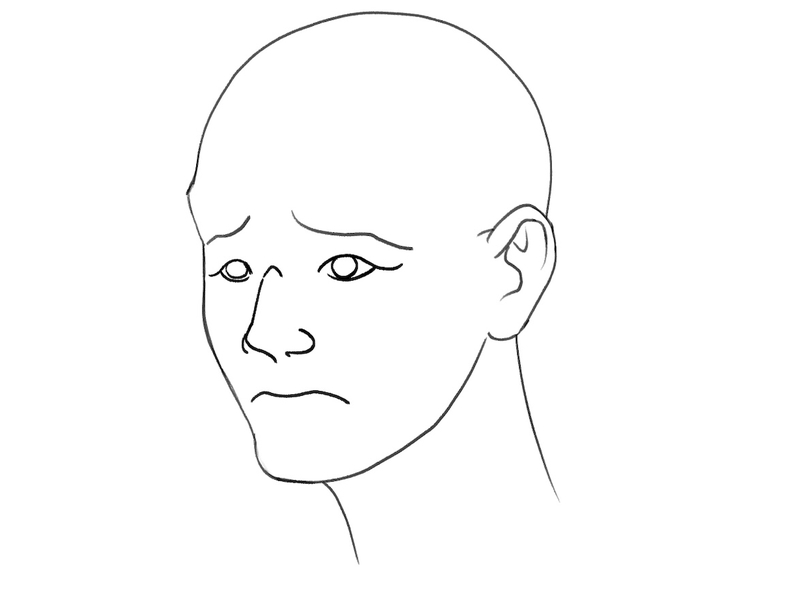
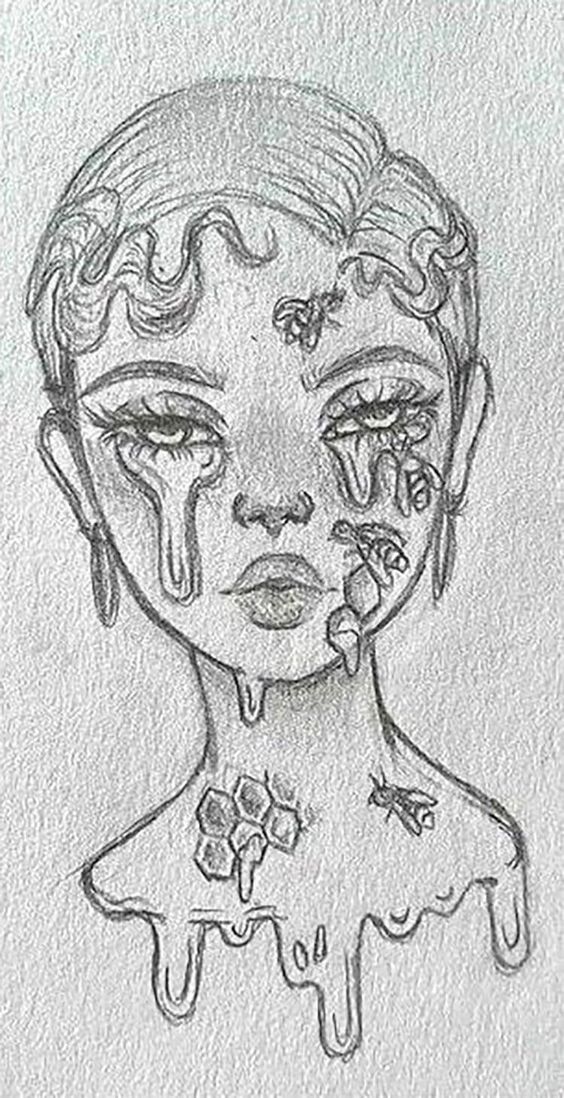
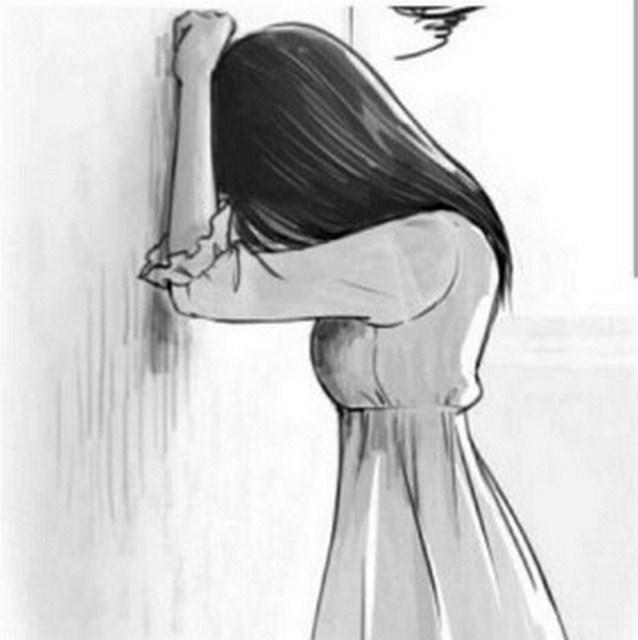
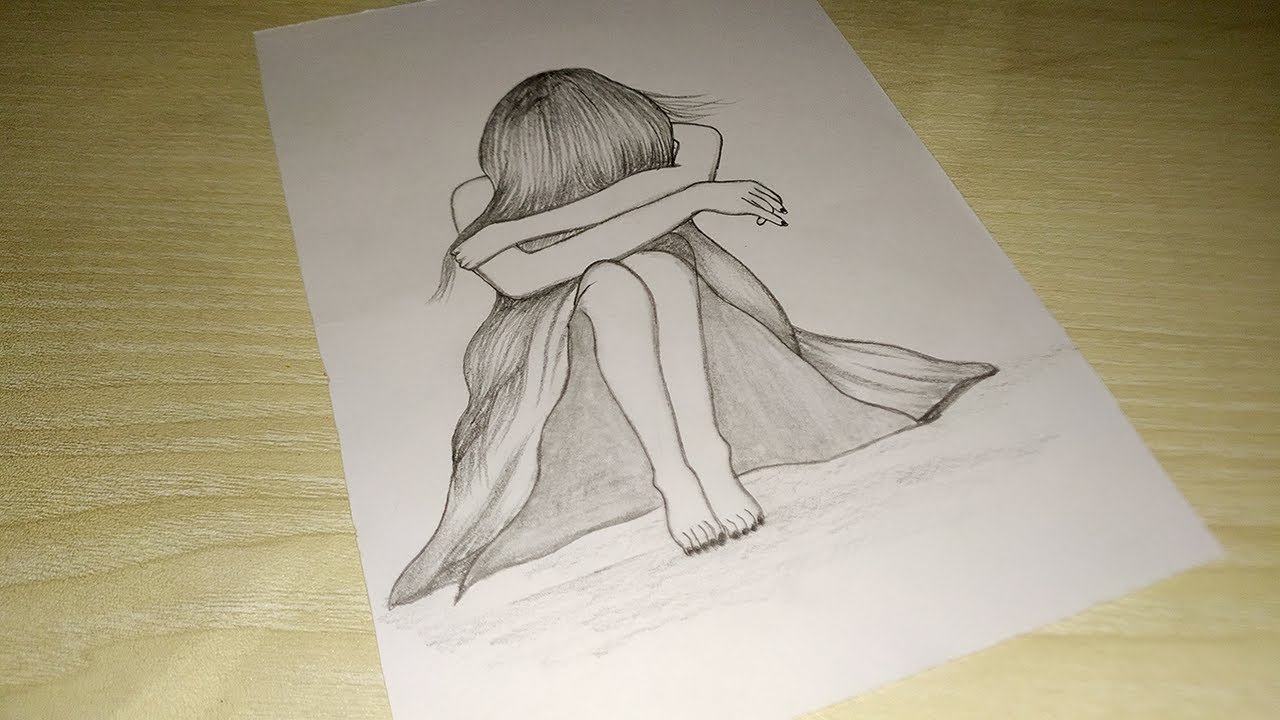
Begin by sketching the basic outline of the drawing using a pencil. Choose a sad subject, such as a girl crying, an abandoned house, or a wilted flower. You can either draw freehand or use a reference image.
2. Add Details To The Drawing
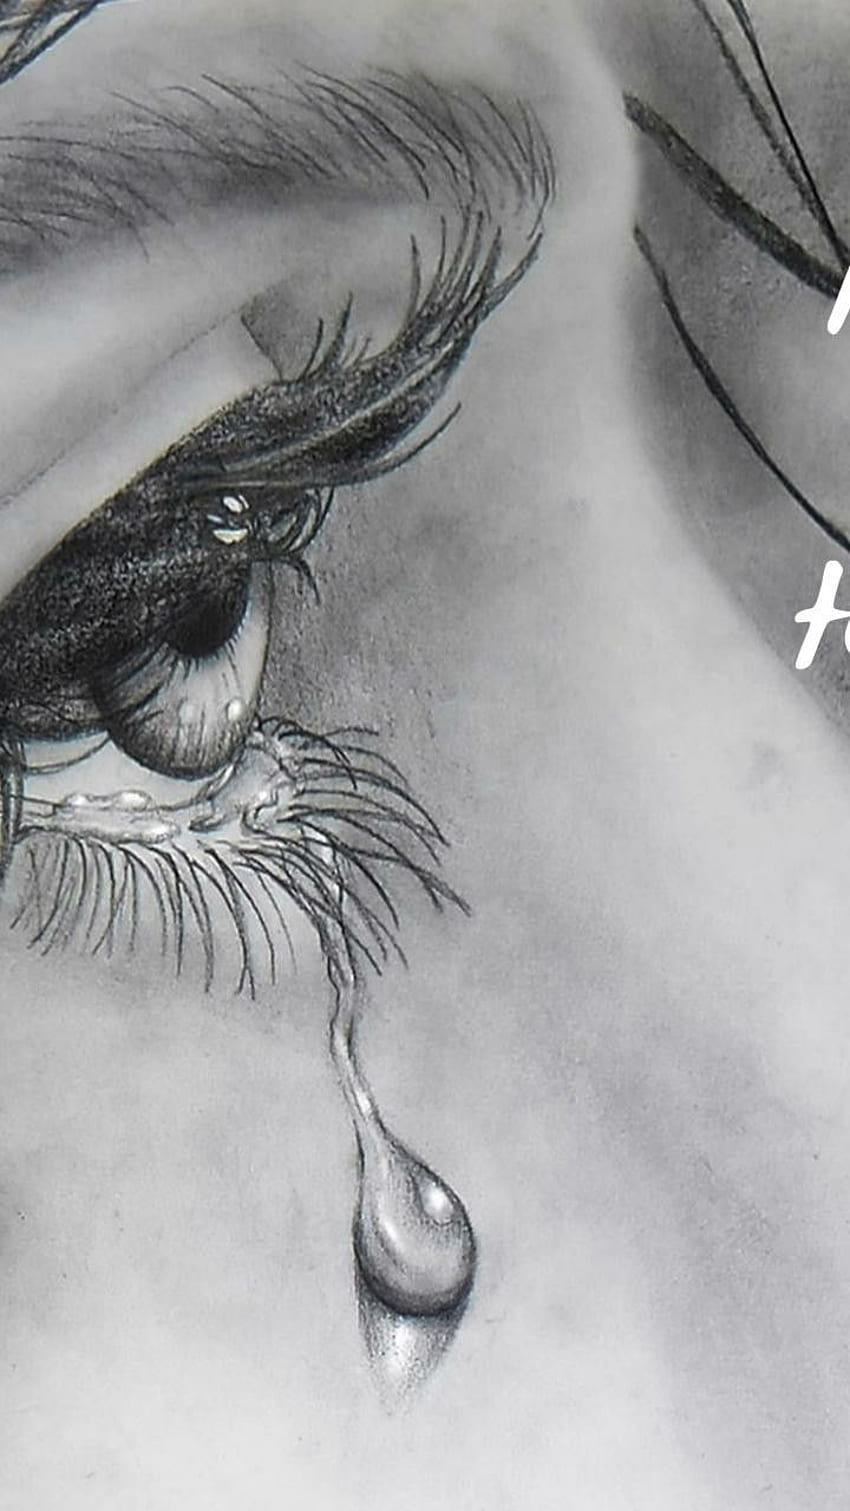
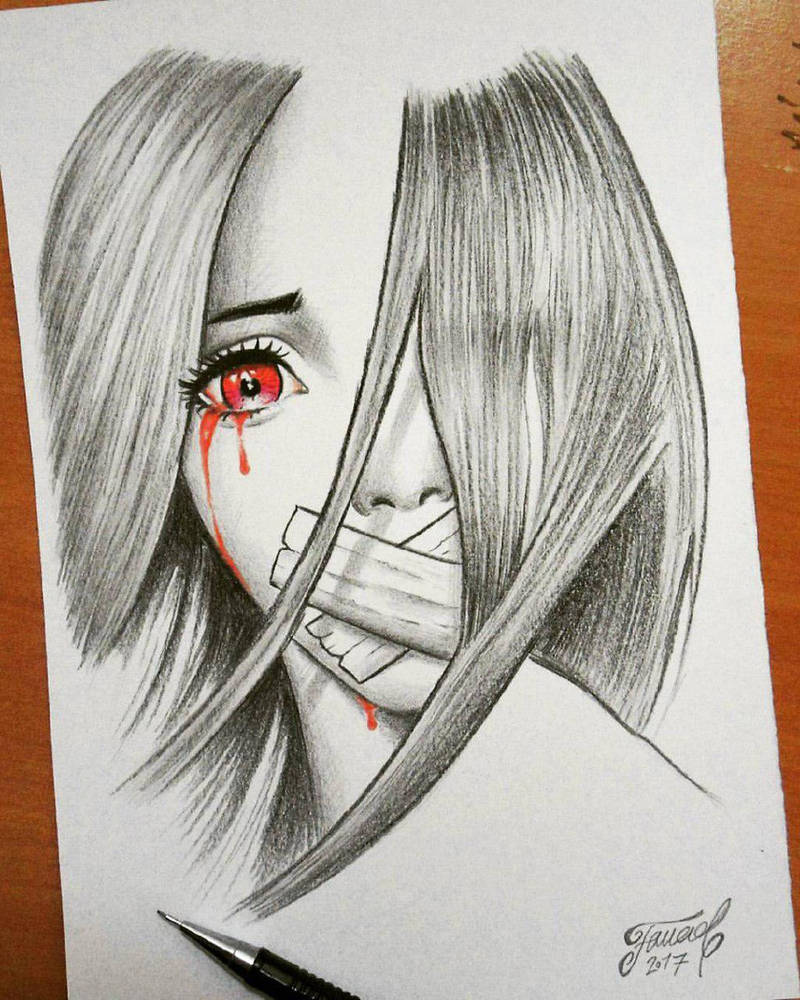
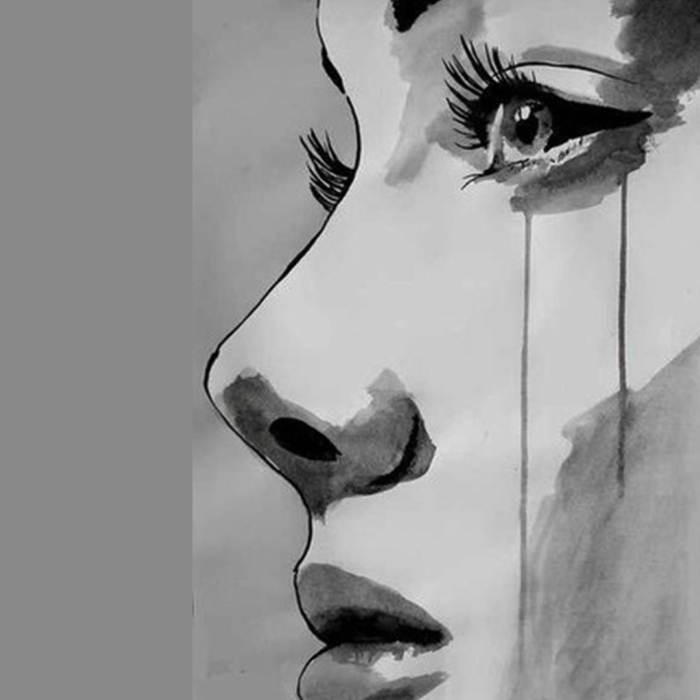
After outlining, add details to the drawing. For example, you can draw the tears falling down the cheeks, the cracks on the abandoned house walls, or decaying petals of the flower. Make sure to be gentle with your drawing to avoid any smudging.
3. Darken The Outline
After adding details, darken the outline with a black pen. Use a thin pen, as thick lines may overpower the drawing.
4. Erase Excess Pencil Markings
Once you have completed the outline, use an eraser to erase any excess pencil markings.
5. Start Shading With Charcoal
Begin shading the drawing using a charcoal stick. Start by applying grey tones. You can blend with your fingers to create smooth shading. Apply dark tones for areas that are not exposed to light, such as shadows beneath the eyes or cracks.
6. Create Texture
You can create texture on the drawing by applying hatching or cross-hatching using a charcoal pencil. Go over any areas to create a shadow effect.
7. Use Tissue Paper For Smudging
Use tissue paper to smudge the charcoal shader to create a softer effect where needed.
8. Keep Shading Until You’re Satisfied
Shade until you’re fully satisfied with the result, your darkening should be gradual.
9. Use Black Charcoal For Final Detailing
After you’re completely satisfied with the shading, add final detailing using a black charcoal pencil. This will make the image more dramatic.
10. Add Final Highlights
Add final highlights using a white pencil, to the areas where there is a reflection of light, such as the edges of the tears, distressed clothes, or hair.
Tips For Creating a Sad Drawing
1. Start Small
Start with small drawings first before you move to more complex pictures. This will help you develop your skills by allowing you to focus on the details.
2. Take Your Time
Take enough time with the drawing. Rushing can result in mistakes, which can ruin the overall appearance of the image. By taking your time, you can create something amazing.
3. Practice
Try practicing your sad drawing by sketching different scenes. This will help you perfect your skills.
4. Use References
Using references is one of the best ways to perfect your drawing skills. Always try to have a reference picture to work from to make sure you get everything perfect.
FAQs
1. What Should I Draw That Will Make It Appear Sad?
You can draw people crying or distressed animals.
2. What Type Of Pencils Should I Use For Shading?
Use soft charcoal pencils because they are easy to blend and darken but difficult to erase.
3. Can I Erase Charcoal From My Drawing?
Yes, you can erase charcoal from your drawing, but the texture of the paper may change.
4. How Can I Create A Darker Shading Effect?
Create darker shading effects by adding more layers of charcoal.
5. Can I Use Colored Pencils For “Sad Drawing”?
Absolutely, however you may not be able to get the same amount of black charcoal shading you would get from soft charcoal.
6. How Can I Create Tear Drops In The Drawing?
Rectangular shapes tilted at an angle can work, or a simple curved line can be drawn to symbolise tear drops.


