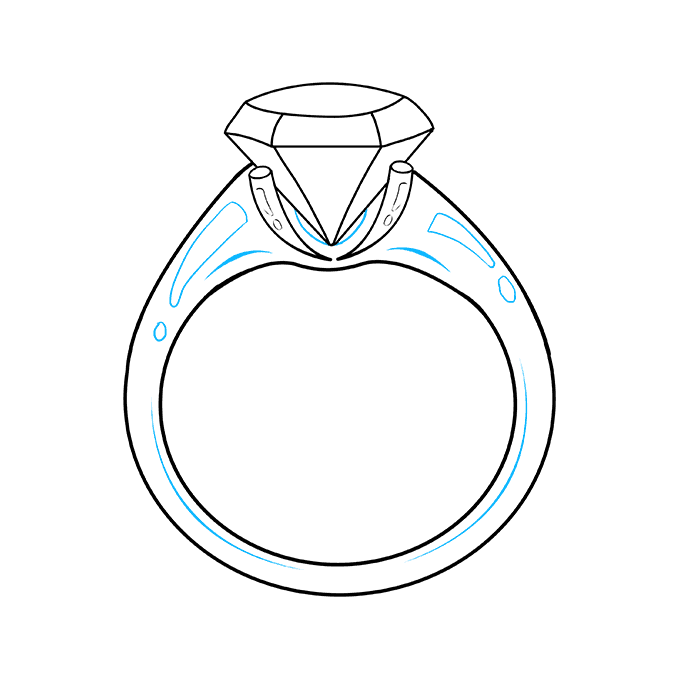
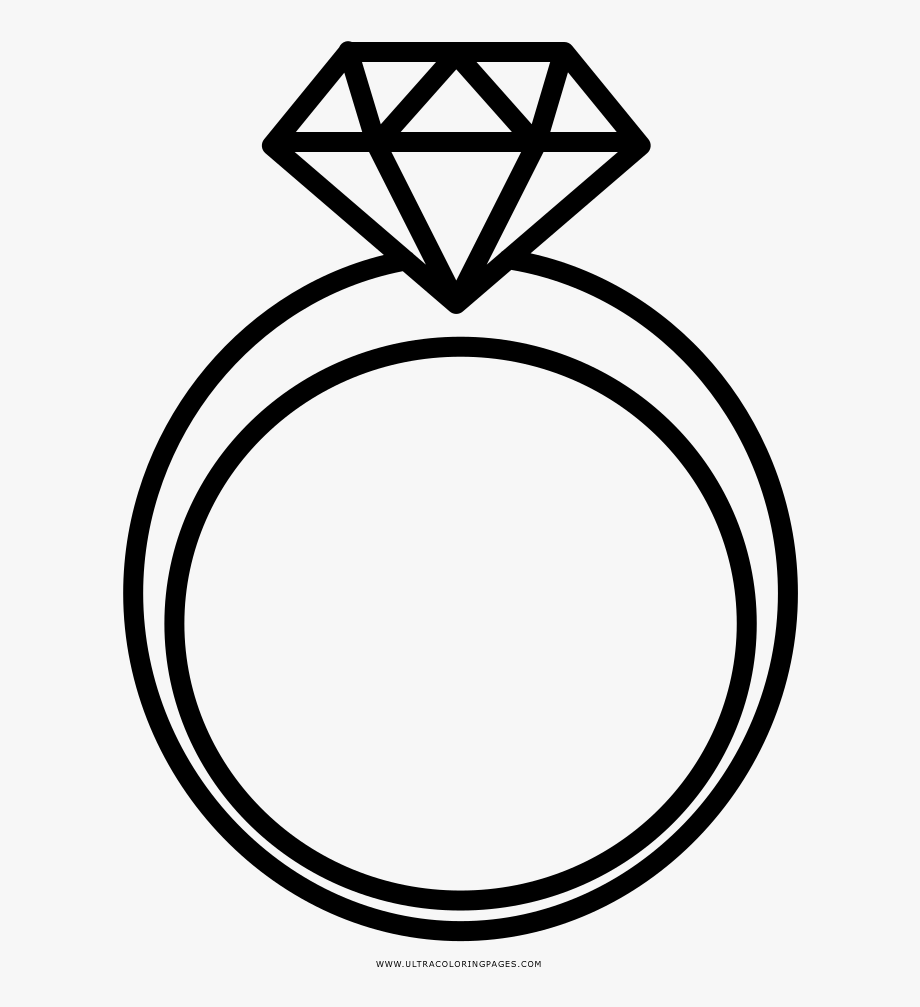
Drawing a ring might seem like a daunting task at first, but with the right techniques, anyone can create a beautiful piece of art. In this guide, we will take you through the entire process of drawing a ring from the basic shape to adding details and shading, giving you tips and tricks along the way. So, let’s get started!
Materials Needed
Before we dive into the process, let’s first gather the materials that we will need for this drawing.
- Paper
- Pencil (preferably a HB pencil)
- Eraser
- Ruler
Sketching the Basic Shape
The first step to drawing a ring is to sketch the basic shape. Follow these steps to do this correctly:
- Take your pencil, paper, and ruler and draw a horizontal line on the paper that will serve as the base of the ring.
- Now, draw another line perpendicularly that crosses the horizontal line, creating a cross.
- From the center of the cross, draw a circle using the ruler as a guide. This circle will be the main body of the ring.
Adding the Band
Now that we have the main body of the ring, we can start adding the band. Here’s how:
- Draw a second circle around the first one, which will be the band of the ring.
- Make sure to keep the band thickness and diameter consistent with the first circle. You can use the ruler to help you with this.
- Erase the unnecessary lines, such as the center line and any overlapping lines from the circle.
Adding the Details
Now that we have the basic shape of the ring, we can add in the details to give it more definition and character. Follow these steps:
- Draw a small V shape on the band to indicate where the diamond or gemstone will be.
- Add in small details to the band, such as engravings or textures. You can also add small shapes to the band to give it an extra level of detail.
- Draw the diamond or gem in the V shape, making sure it fits correctly with the overall shape of the ring.
Shading and Coloring
Once you have drawn the ring, you can now shade and color it to make it more realistic. Here’s how:
- Select the areas of the ring where the light hits the most. Add shading effects to these areas by using a pencil to lightly shade them in.
- Add shadows to the areas where the light doesn’t touch as much, such as the underside of the ring or the areas where the diamond casts a shadow.
- Finally, you can add color to the diamond or gemstone. Use shades of light blue or pink for a sapphire or ruby, respectively.
Tips and Tricks
Drawing can be intimidating at first, but with a few tips, you can easily create a beautiful ring drawing:
- Use light pencil marks so that you can easily erase any unwanted lines.
- Focus on getting the basic shape correct before moving on to the details.
- Use a ruler to ensure that the circles for the body and band of the ring are the correct size and symmetry.
- Study real-life rings to get a better idea of how the details should look.
- Practice your shading and coloring using a separate piece of paper before applying it to your actual drawing.
FAQs
Below are some frequently asked questions related to ring drawing:
1. Can I draw a ring with different shapes?
Yes, you can make a ring with different shapes if you wish. The basic technique for drawing a ring will remain the same.
2. What kind of paper should I use for ring drawing?
You can use any type of paper for ring drawing, depending on your preference. However, a heavier paper will hold up better if you plan on adding shading and coloring.
3. Do I have to add color to the ring drawing?
No, adding color is optional. Some artists prefer to stick with pencil shading only.
4. How long does it take to draw a ring?
The time it takes to draw a ring will vary depending on the complexity of the design and the artist’s experience level. For beginners, it can take anywhere from 30 minutes to an hour.
5. Can I use a pen instead of a pencil to draw a ring?
It’s recommended to use a pencil for drawing, as you can easily erase any mistakes. However, you can use a pen if you’re confident in your drawing skills and don’t mind any mistakes that will be permanent.
6. Should I use a reference photo when drawing a ring?
Using a reference photo can help you get a better idea of what the ring should look like, especially when it comes to details and shading. It’s recommended to use a reference photo, especially for beginners.


