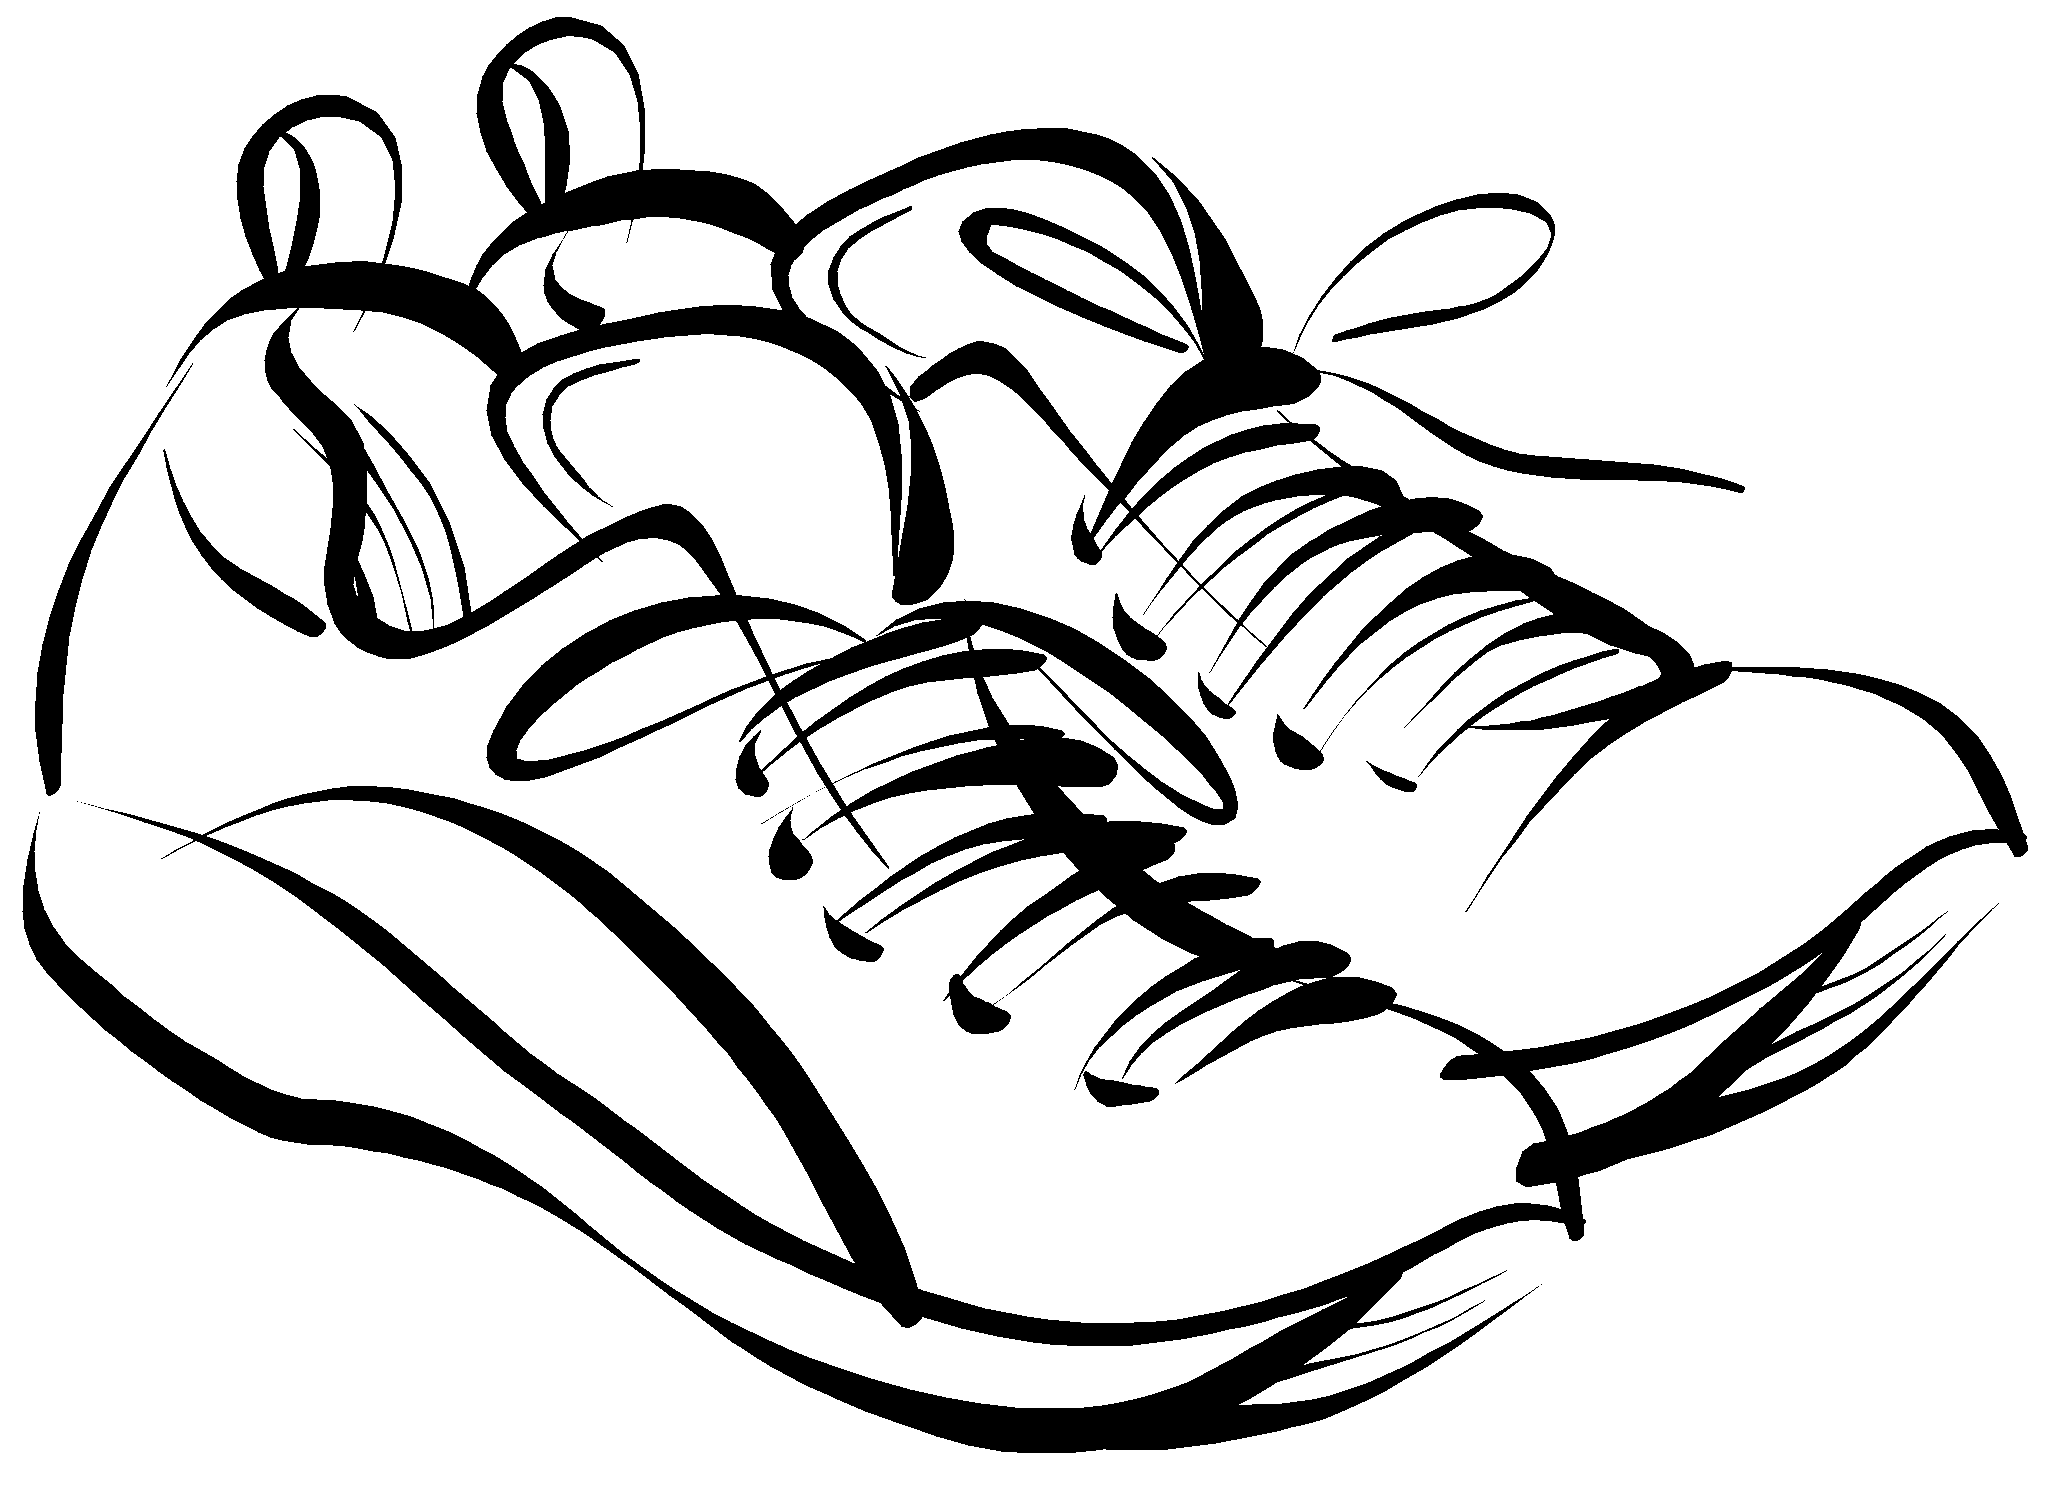
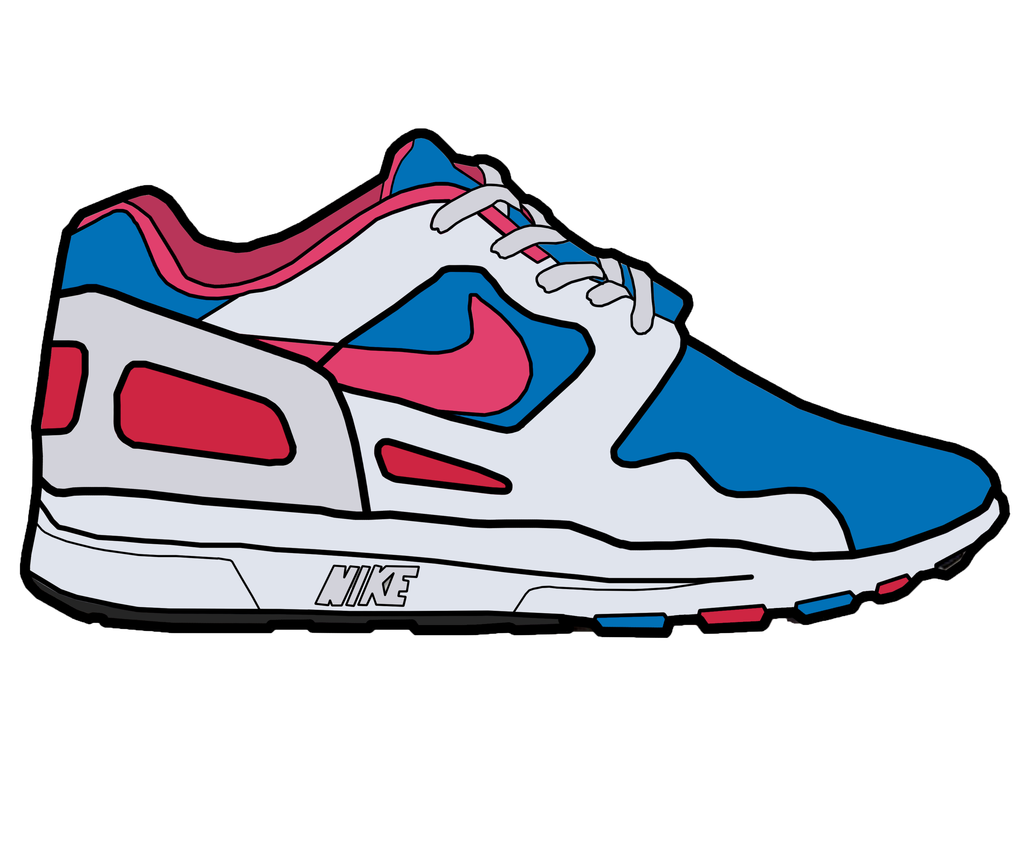
Materials Needed for Shoe Drawing
- Drawing paper (any type of paper can be used)
- Pencil (minimum HB for sketching)
- Eraser
- Ruler
- Blending tool (tortillon/stump)
- Charcoal pencil
Basic Shapes to Sketch a Shoe
Sketching basic shapes is the foundation of every shoe drawing. It is essential to focus on the proportions and correct placement of each element. Following are the steps to sketch a shoe:
Step 1: Draw a Horizontal Line – First, draw a horizontal line for the shoe’s foundation.
Step 2: Sketch a Rectangle – Sketch a rectangular shape on one end of the line. It will be the base of the shoe.
Step 3: Draw a Curve – Add a curve shape on the top of the rectangle to form the front part of the shoe.
Step 4: Add a Triangle – Sketch a small triangle at the back of the rectangular shape. It will be the heel shape.
Adding Details to the Shoe
Once you have completed sketching the basic shapes, you can start adding details to your shoe drawing. This step is crucial in making your drawing look realistic and detailed. Follow the below steps to add details:
Step 1: Sketching the Toe Box – Sketch the toe box, which is the open end of the shoe, covering the toes of the wearer.
Step 2: Add a Tongue – Draw a curved shape in the middle of the toe box to form the tongue.
Step 3: Draw Eyelets – Sketch the eyelets on both sides of the tongue to form laces.
Step 4: Add a Sole – Sketch the sole of the shoe with a curved line.
Step 5: Add Heel Details – Draw a curved line around the heel of the shoe to give it a detailed look.
Final Details and Shading
The final step of shoe drawing is to add the finishing touches and shading to the drawing. Follow the below steps to complete your shoe drawing:
Step 1: Erase the sketch lines – Erase the sketch lines around the shoe drawing.
Step 2: Add Shadows – Use the charcoal pencil to create shadows under the shoe to add depth to the drawing.
Step 3: Add Highlights – Use the eraser to create highlights on the shoe where the light falls.
Step 4: Blending – Use the blending tool to blend the shadows and highlights for a smoother finish.
Step 5: Final Touches – Make any final touches to your drawing, adding any details or line work as needed.
FAQs:
Q1. Can I use any paper for shoe drawing?
A1: Yes, you can use any paper for shoe drawing, but it is recommended to use a thicker and smoother paper to enhance the details.
Q2. Do I have to draw the shoe’s laces?
A2: No, you can choose to draw the shoe with or without laces, depending on your preference.
Q3. Is it necessary to use a blending tool for shading?
A3: No, it is not necessary to use a blending tool. You can use your fingers to blend the shading, but using a blending tool can help in achieving a smoother finish.
Q4. Can I use colored pencils for shoe drawing?
A4: Yes, colored pencils can work well for creating colorful shoe drawings.
Q5. Can I add patterns or designs to my shoe drawing?
A5: Yes, you can add patterns or designs to your shoe drawing to make them look more detailed and unique.
Q6. How long does it take to complete a shoe drawing?
A6: The time to complete a shoe drawing might vary depending on the


